I decided to use Autodesk Maya to create my character model, as opposed to ZBrush, mainly for two reasons. The first reason is I decided I wanted my model to be stylised in a similar fashion to low-poly characters from retro video games from the late 90’s, which are commonly found on games for consoles like the Nintendo 64 and the original PlayStation, as they have a certain charm and sense of nostalgia about them that I believed would be very fitting for my character Val due to their robust and geometric nature. Maya allowed me to achieve this through its manipulation of cubes and quads unlike ZBrush, which I found is better for manipulating smoother objects with more flow to them. My second reason is that I had already used Maya before for a previous course unlike ZBrush, which I have never used, so I knew the experience would aid me.
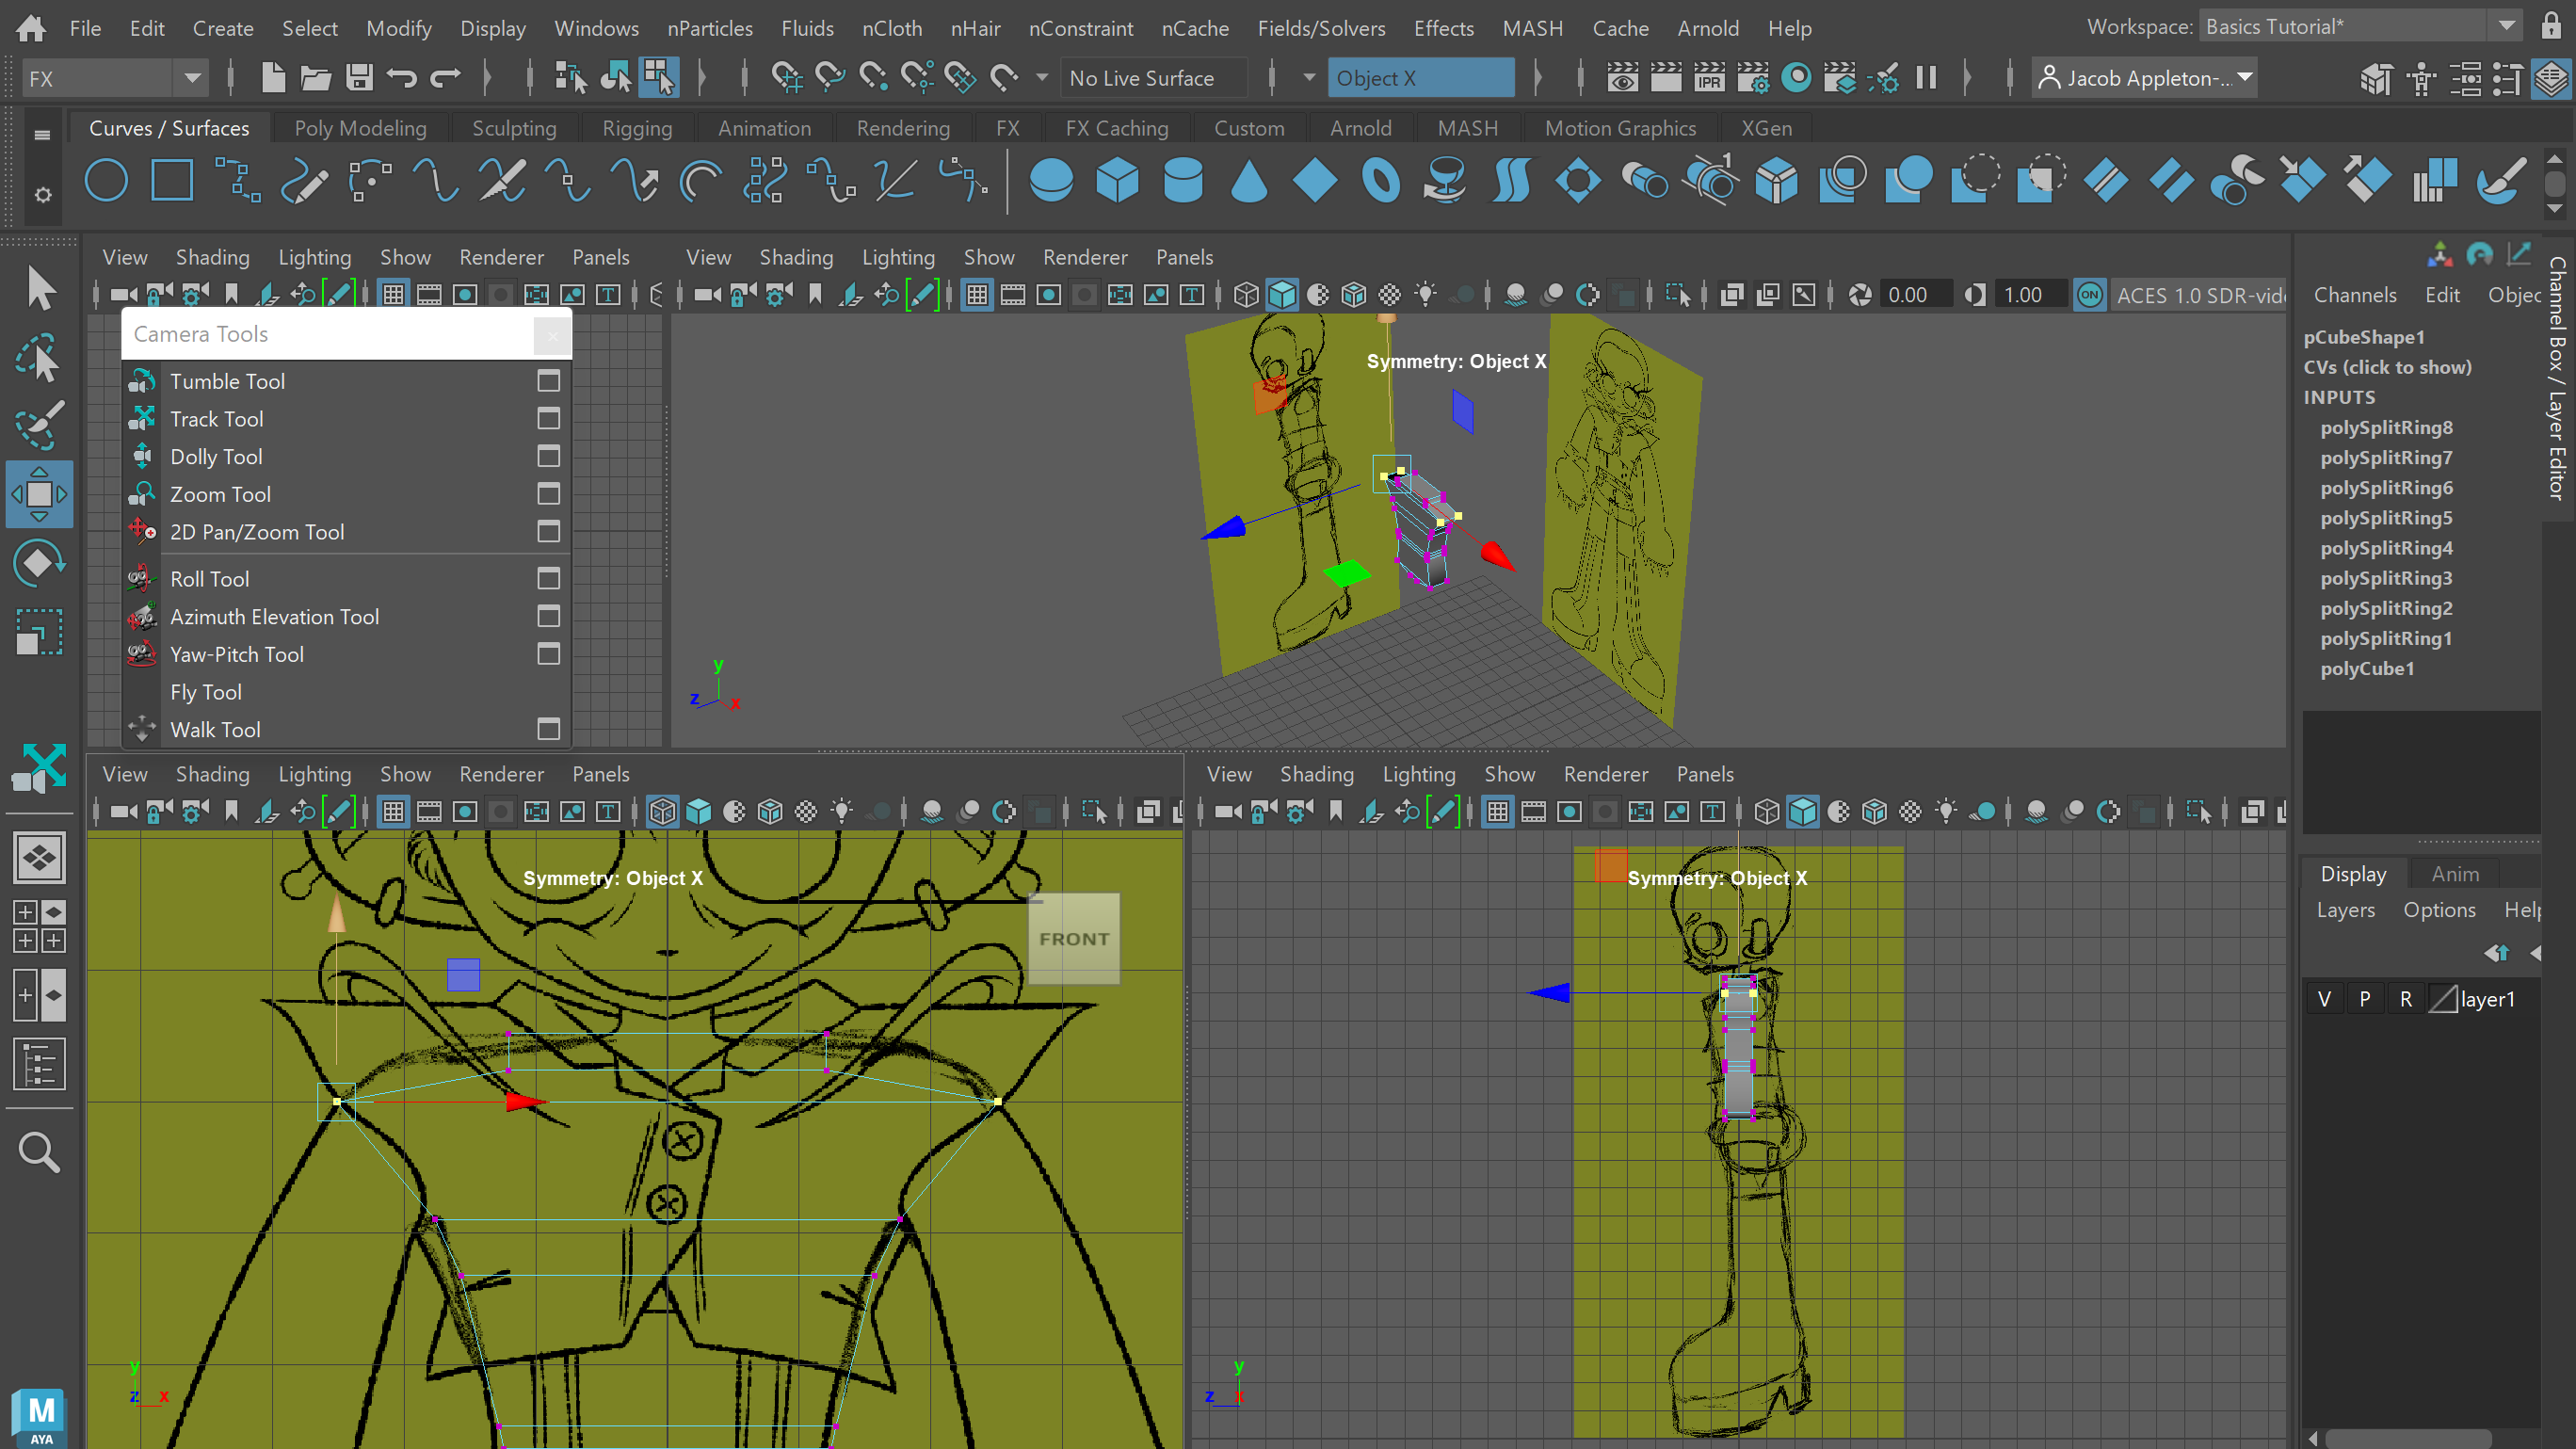
As preparation I inserted original front and side reference sketches onto their own layer and setting them as a reference using the ‘R’ toggle on the layer panel, which made sure they couldn’t be accidentally selected during the model creation process. I began the modelling process with adding edges and vertices to a standard polyCube using the Insert Edge Loop Tool, which enabled me to fit its basic form to the shape of the reference sketches. As you will see, I repeated this operation throughout the entirety of the modelling process in order to get the full basic shape of the character.
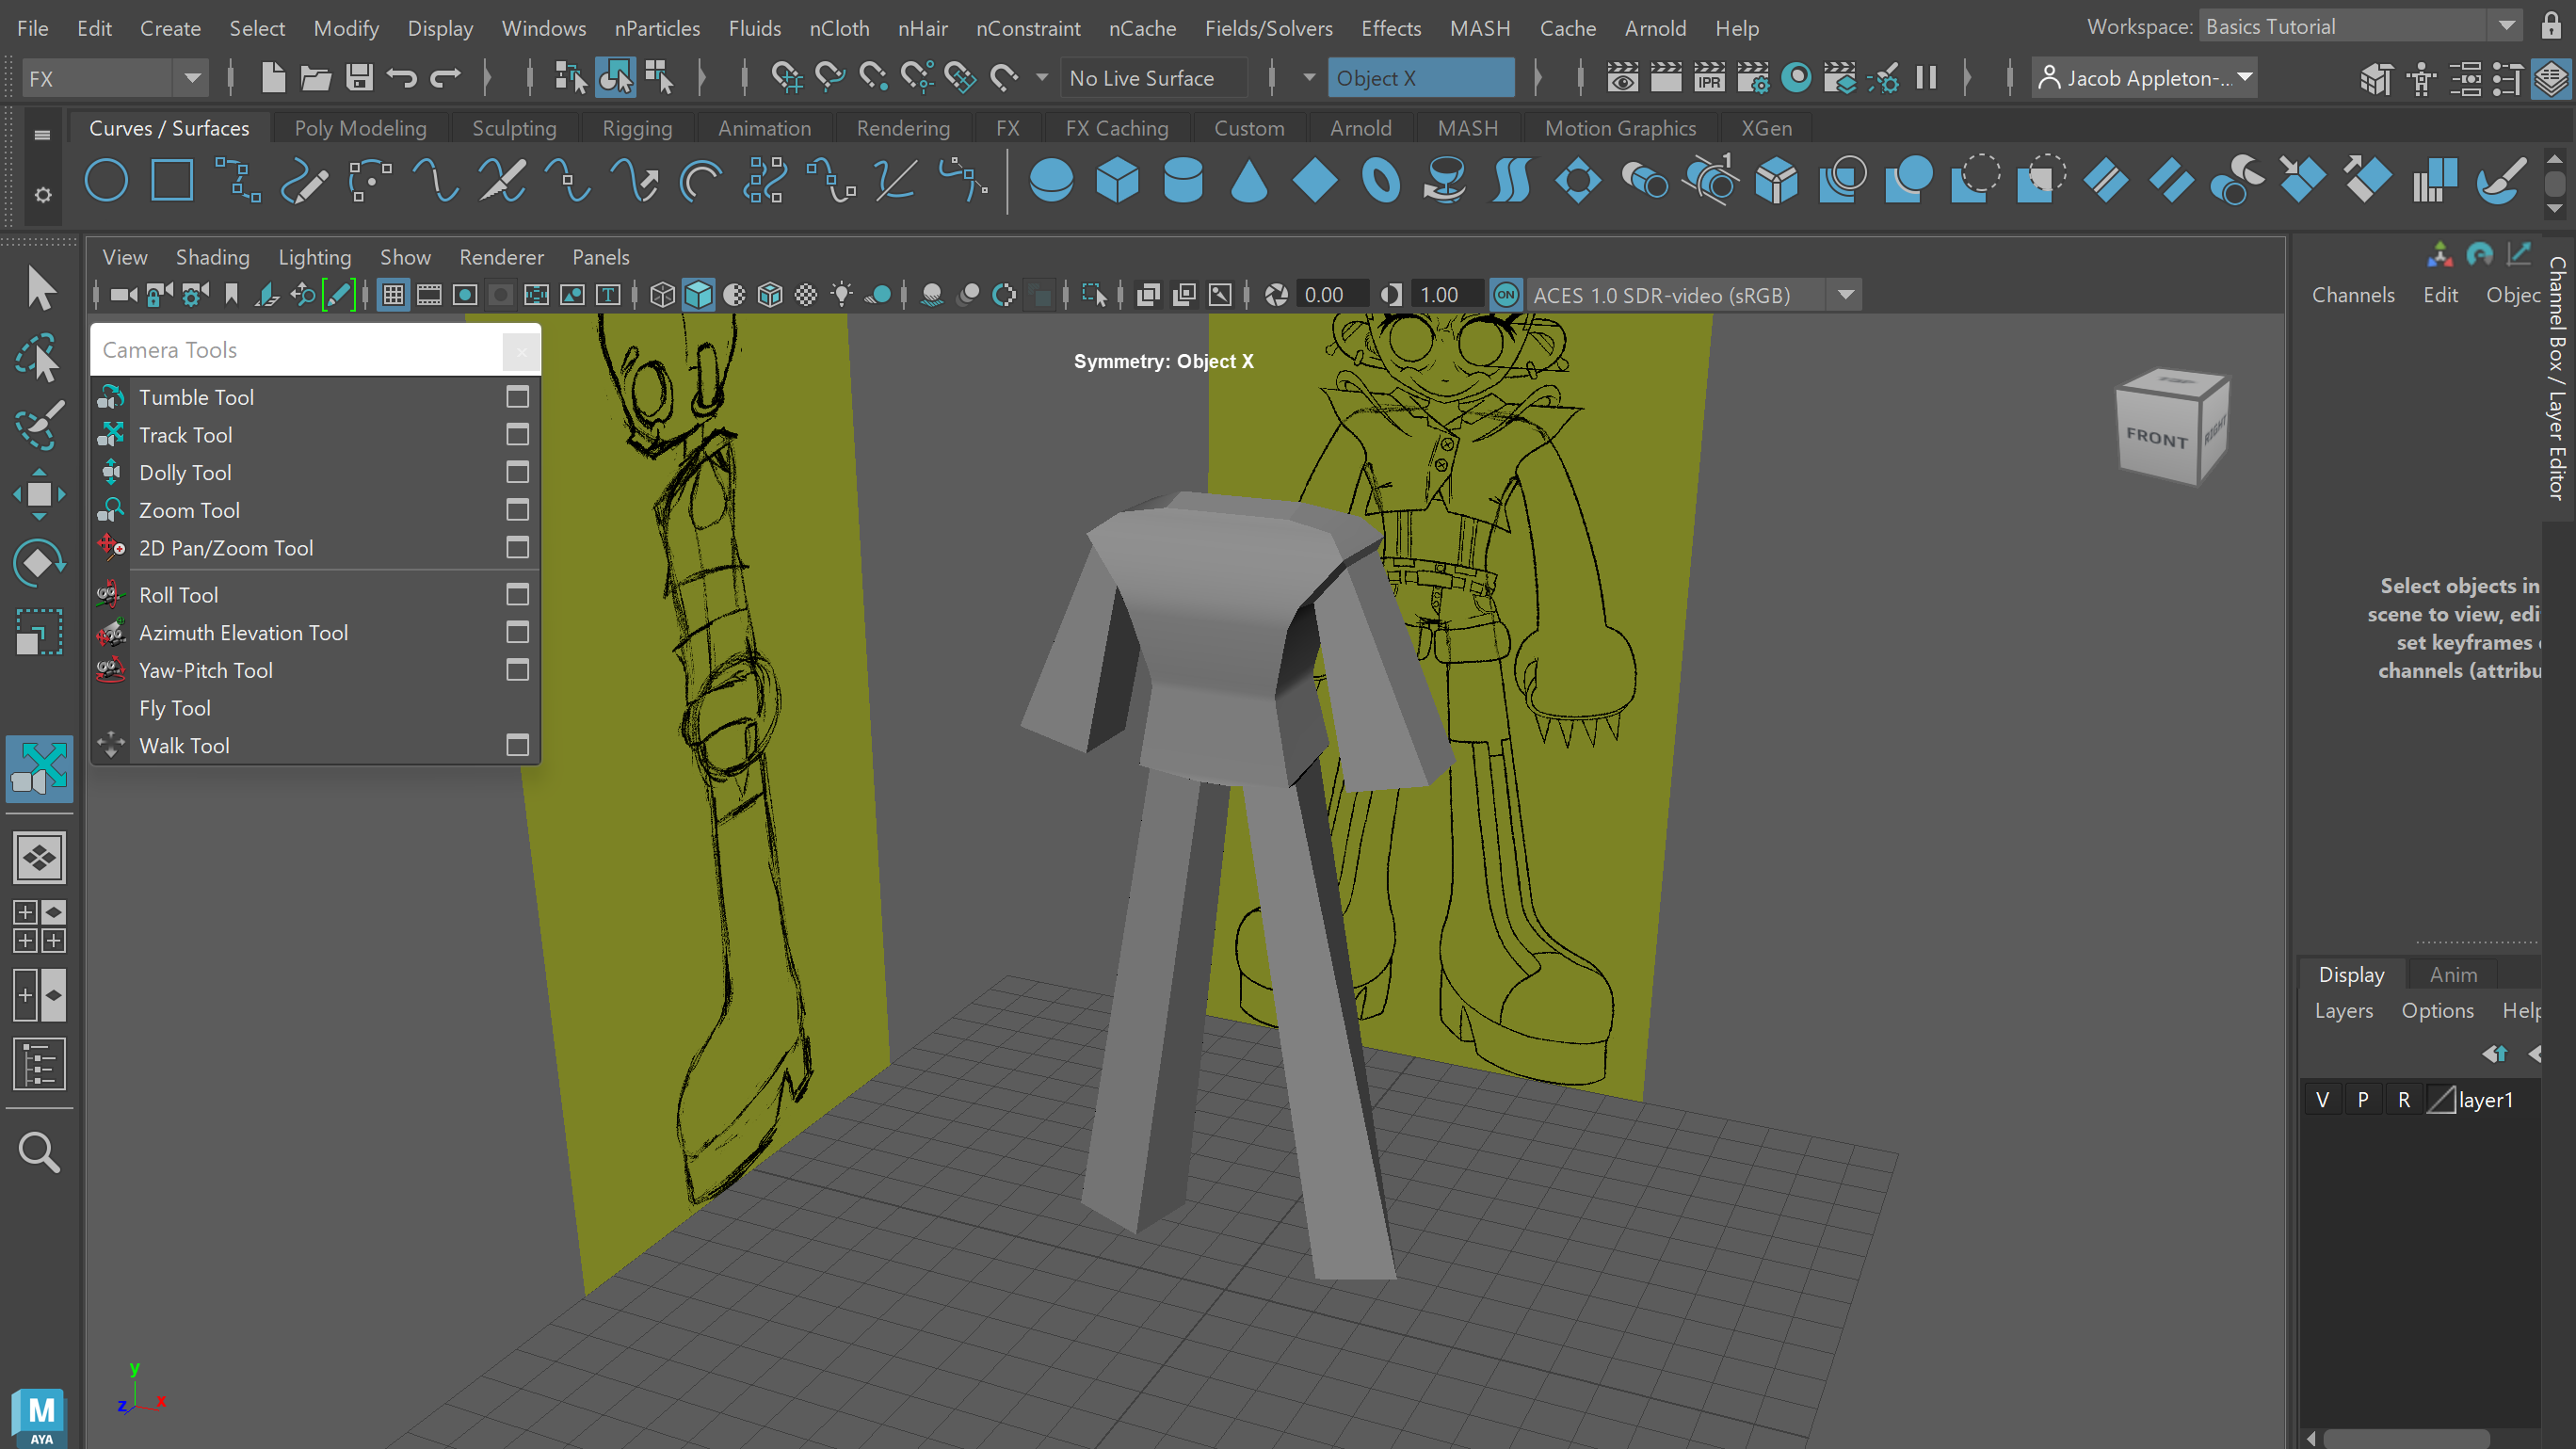
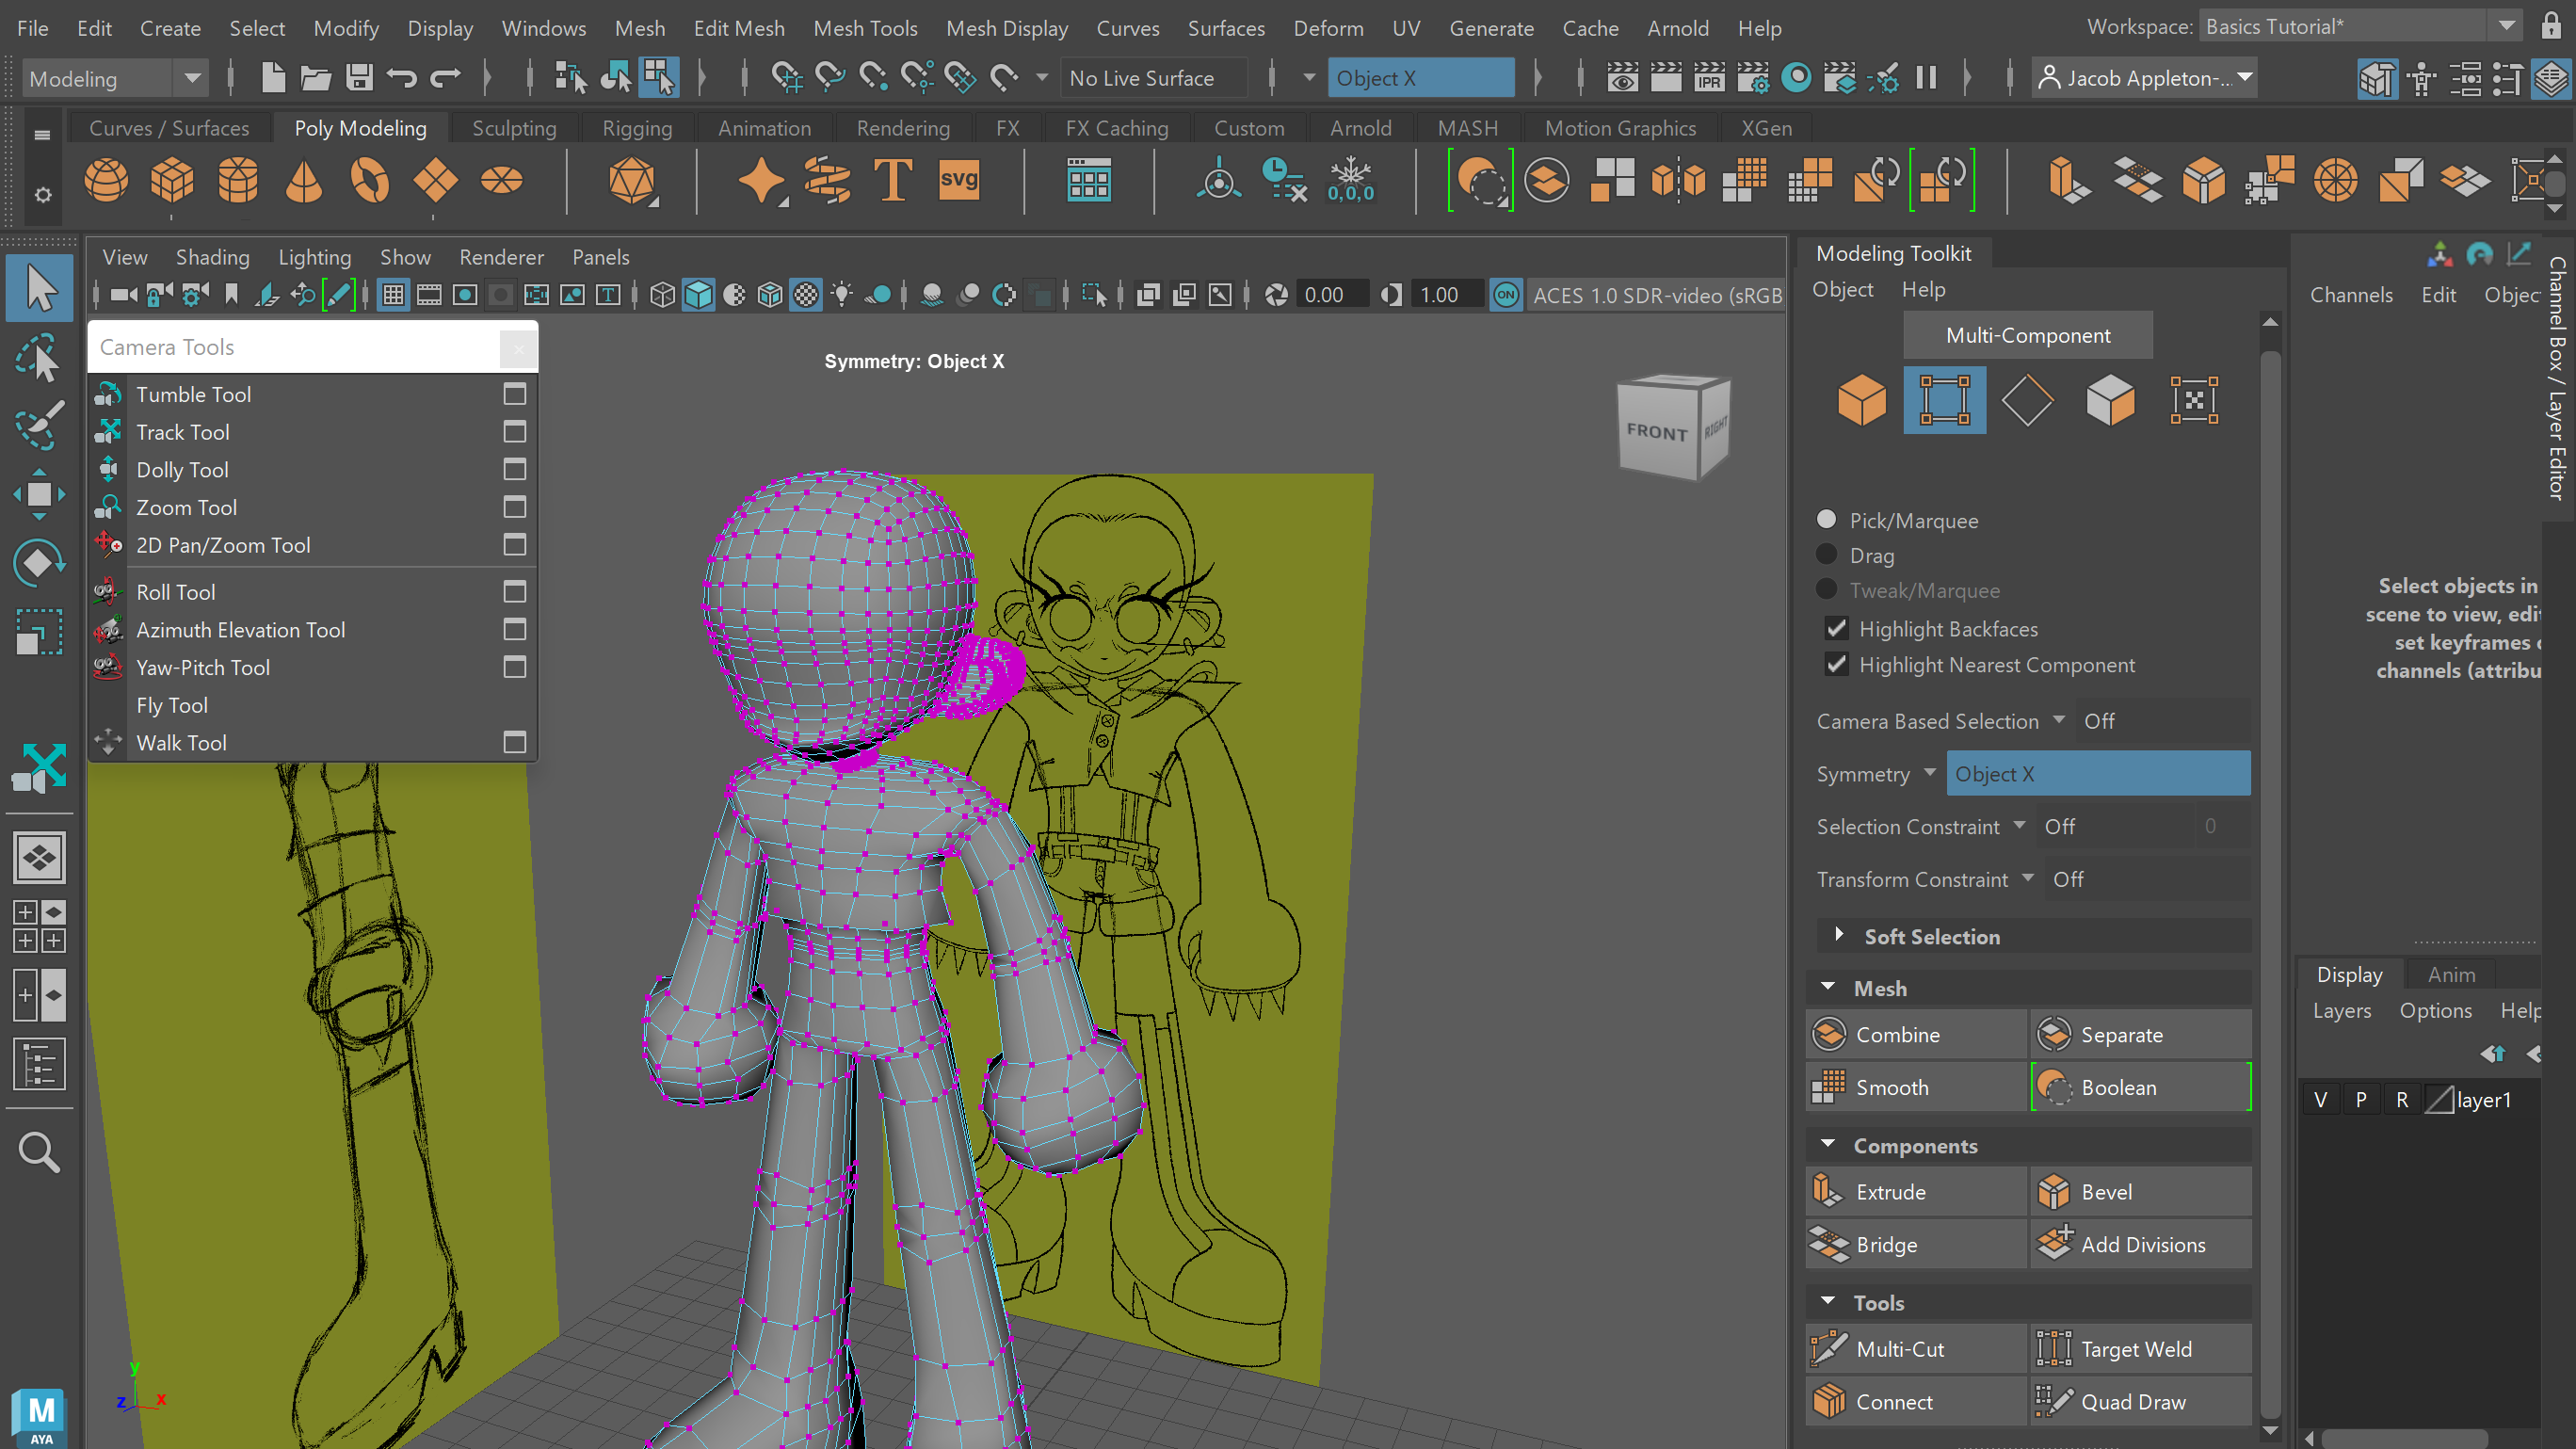
Through the use of face extruding and the move tool I created arms and legs from the torso, and added more edges and vertices.
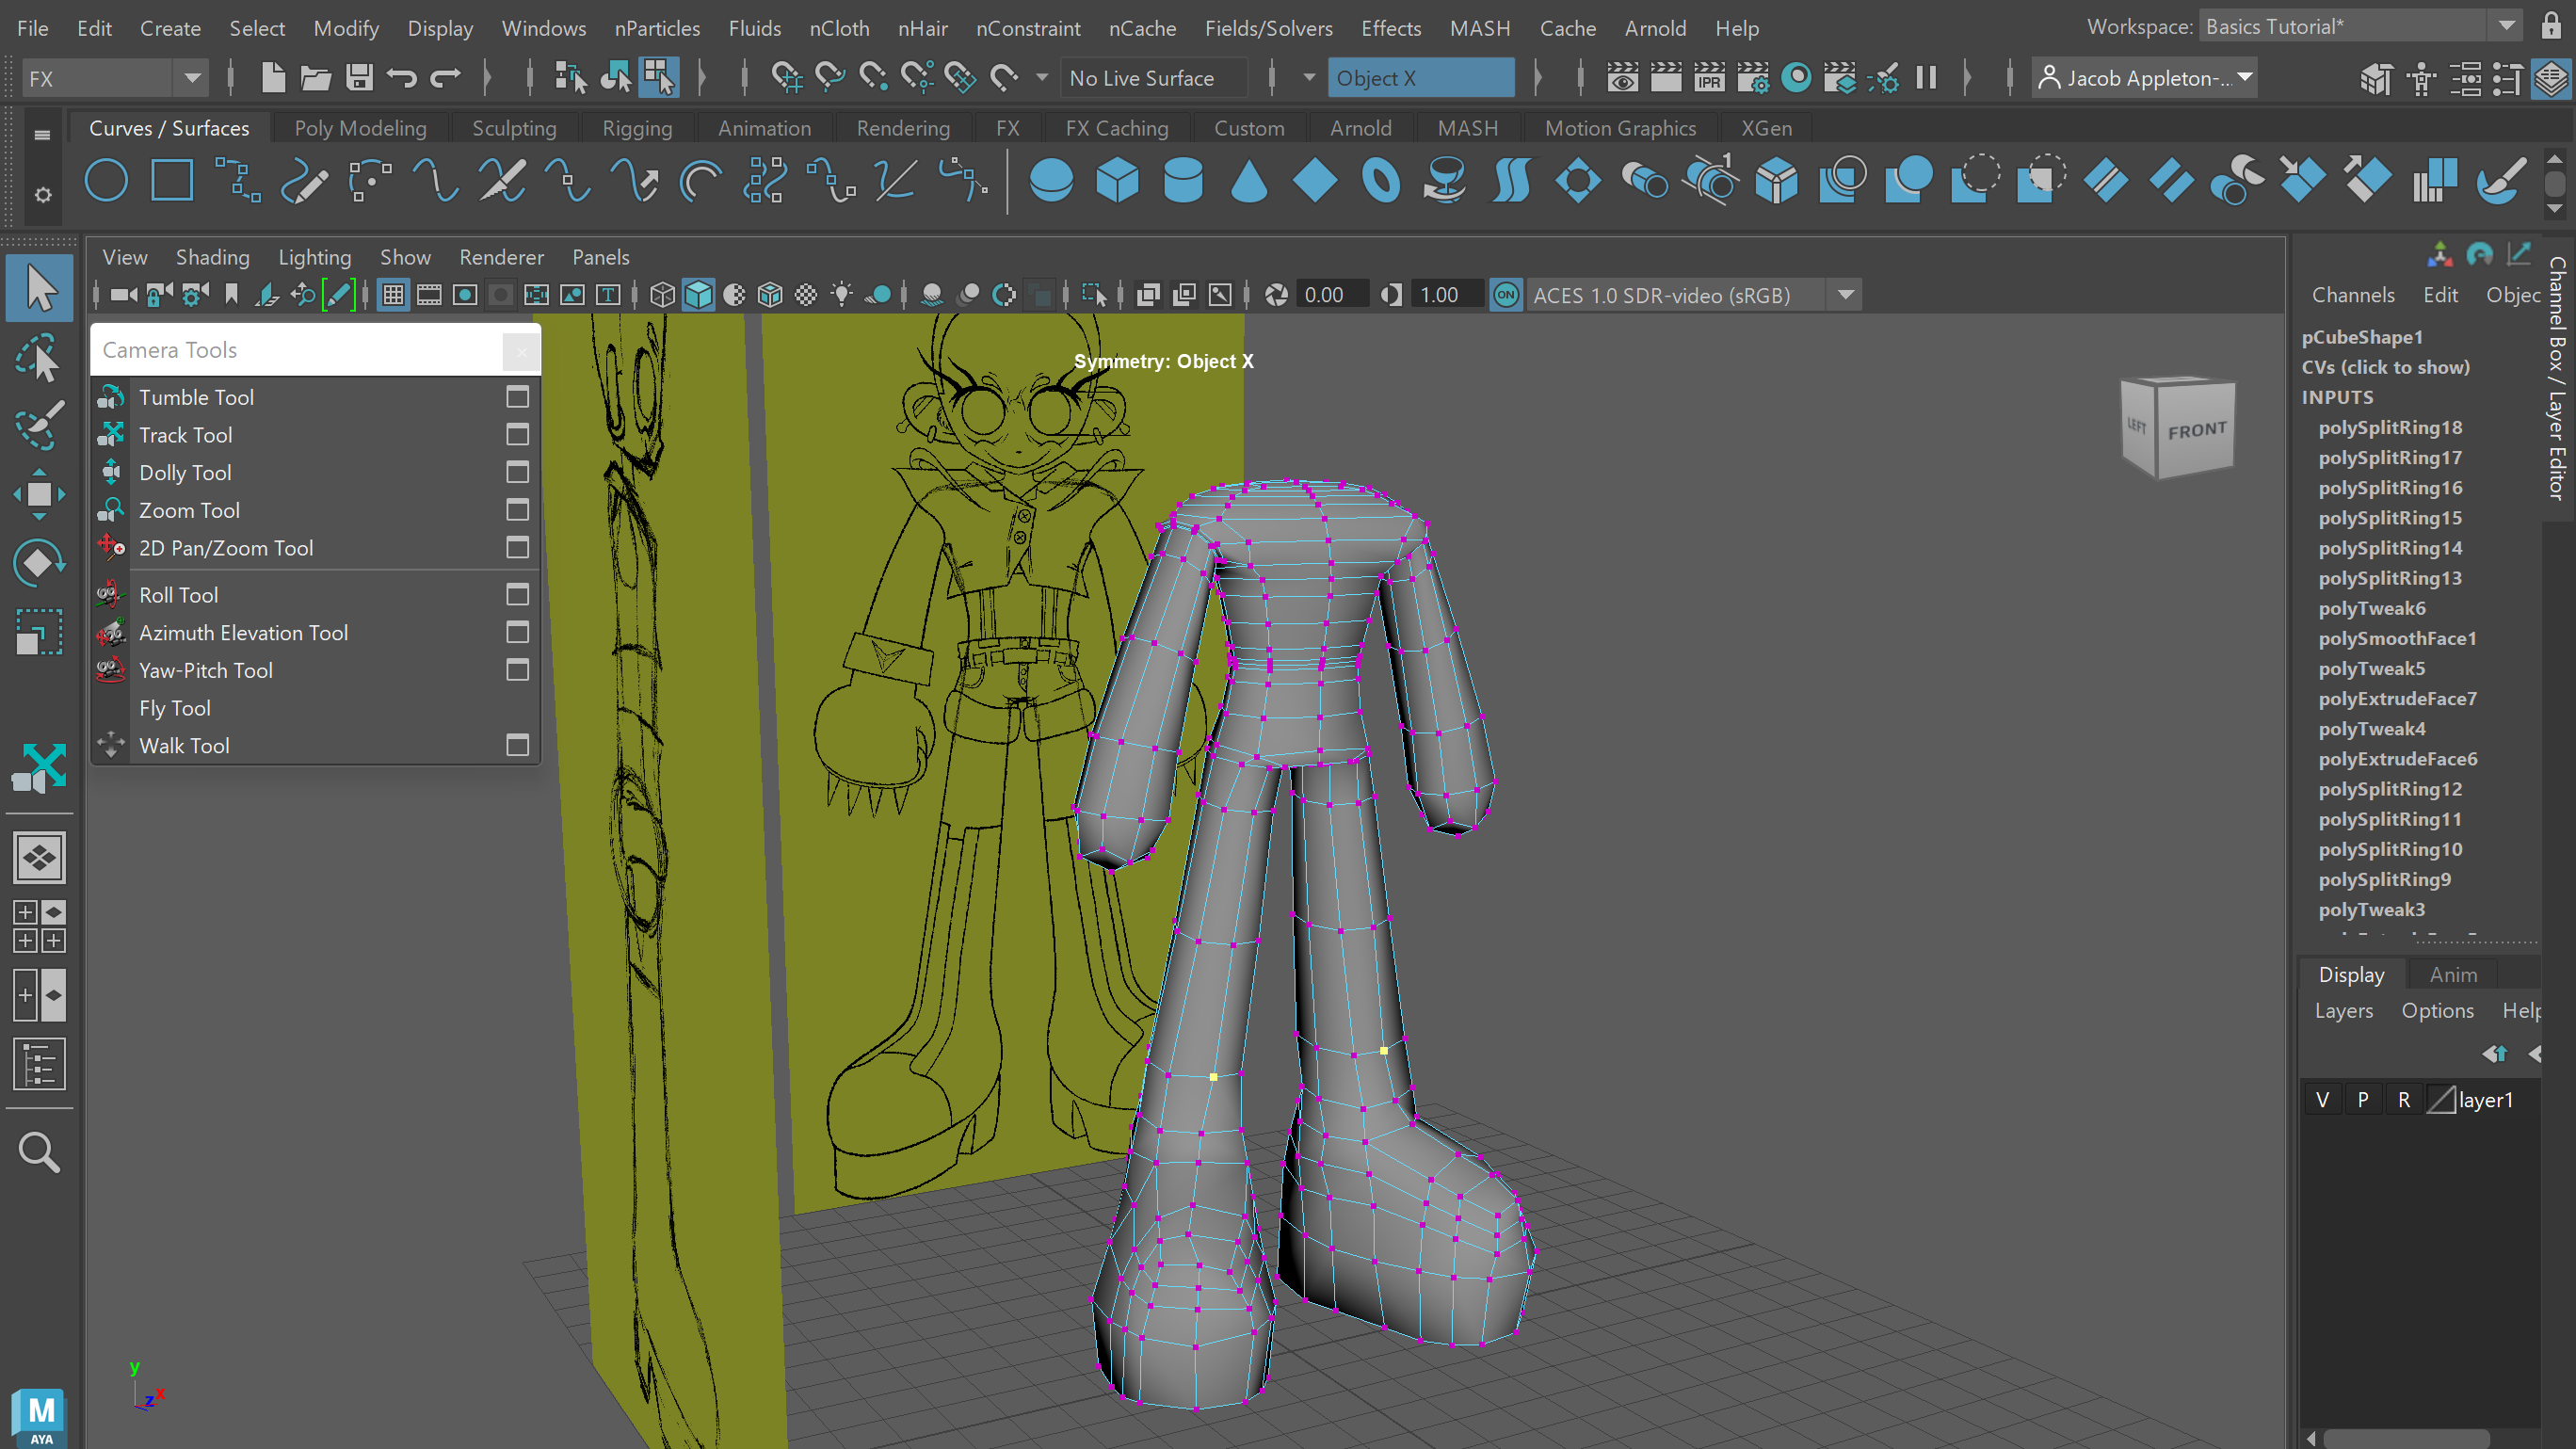
Throughout this process I had been selecting the ‘3’ key to temporarily visualize the model smoothed and closer to the finish product, however now that I had created the basic structure with arms, legs, hands and feet, I permanently smoothed the mesh using the right-click menu’s Smooth function.
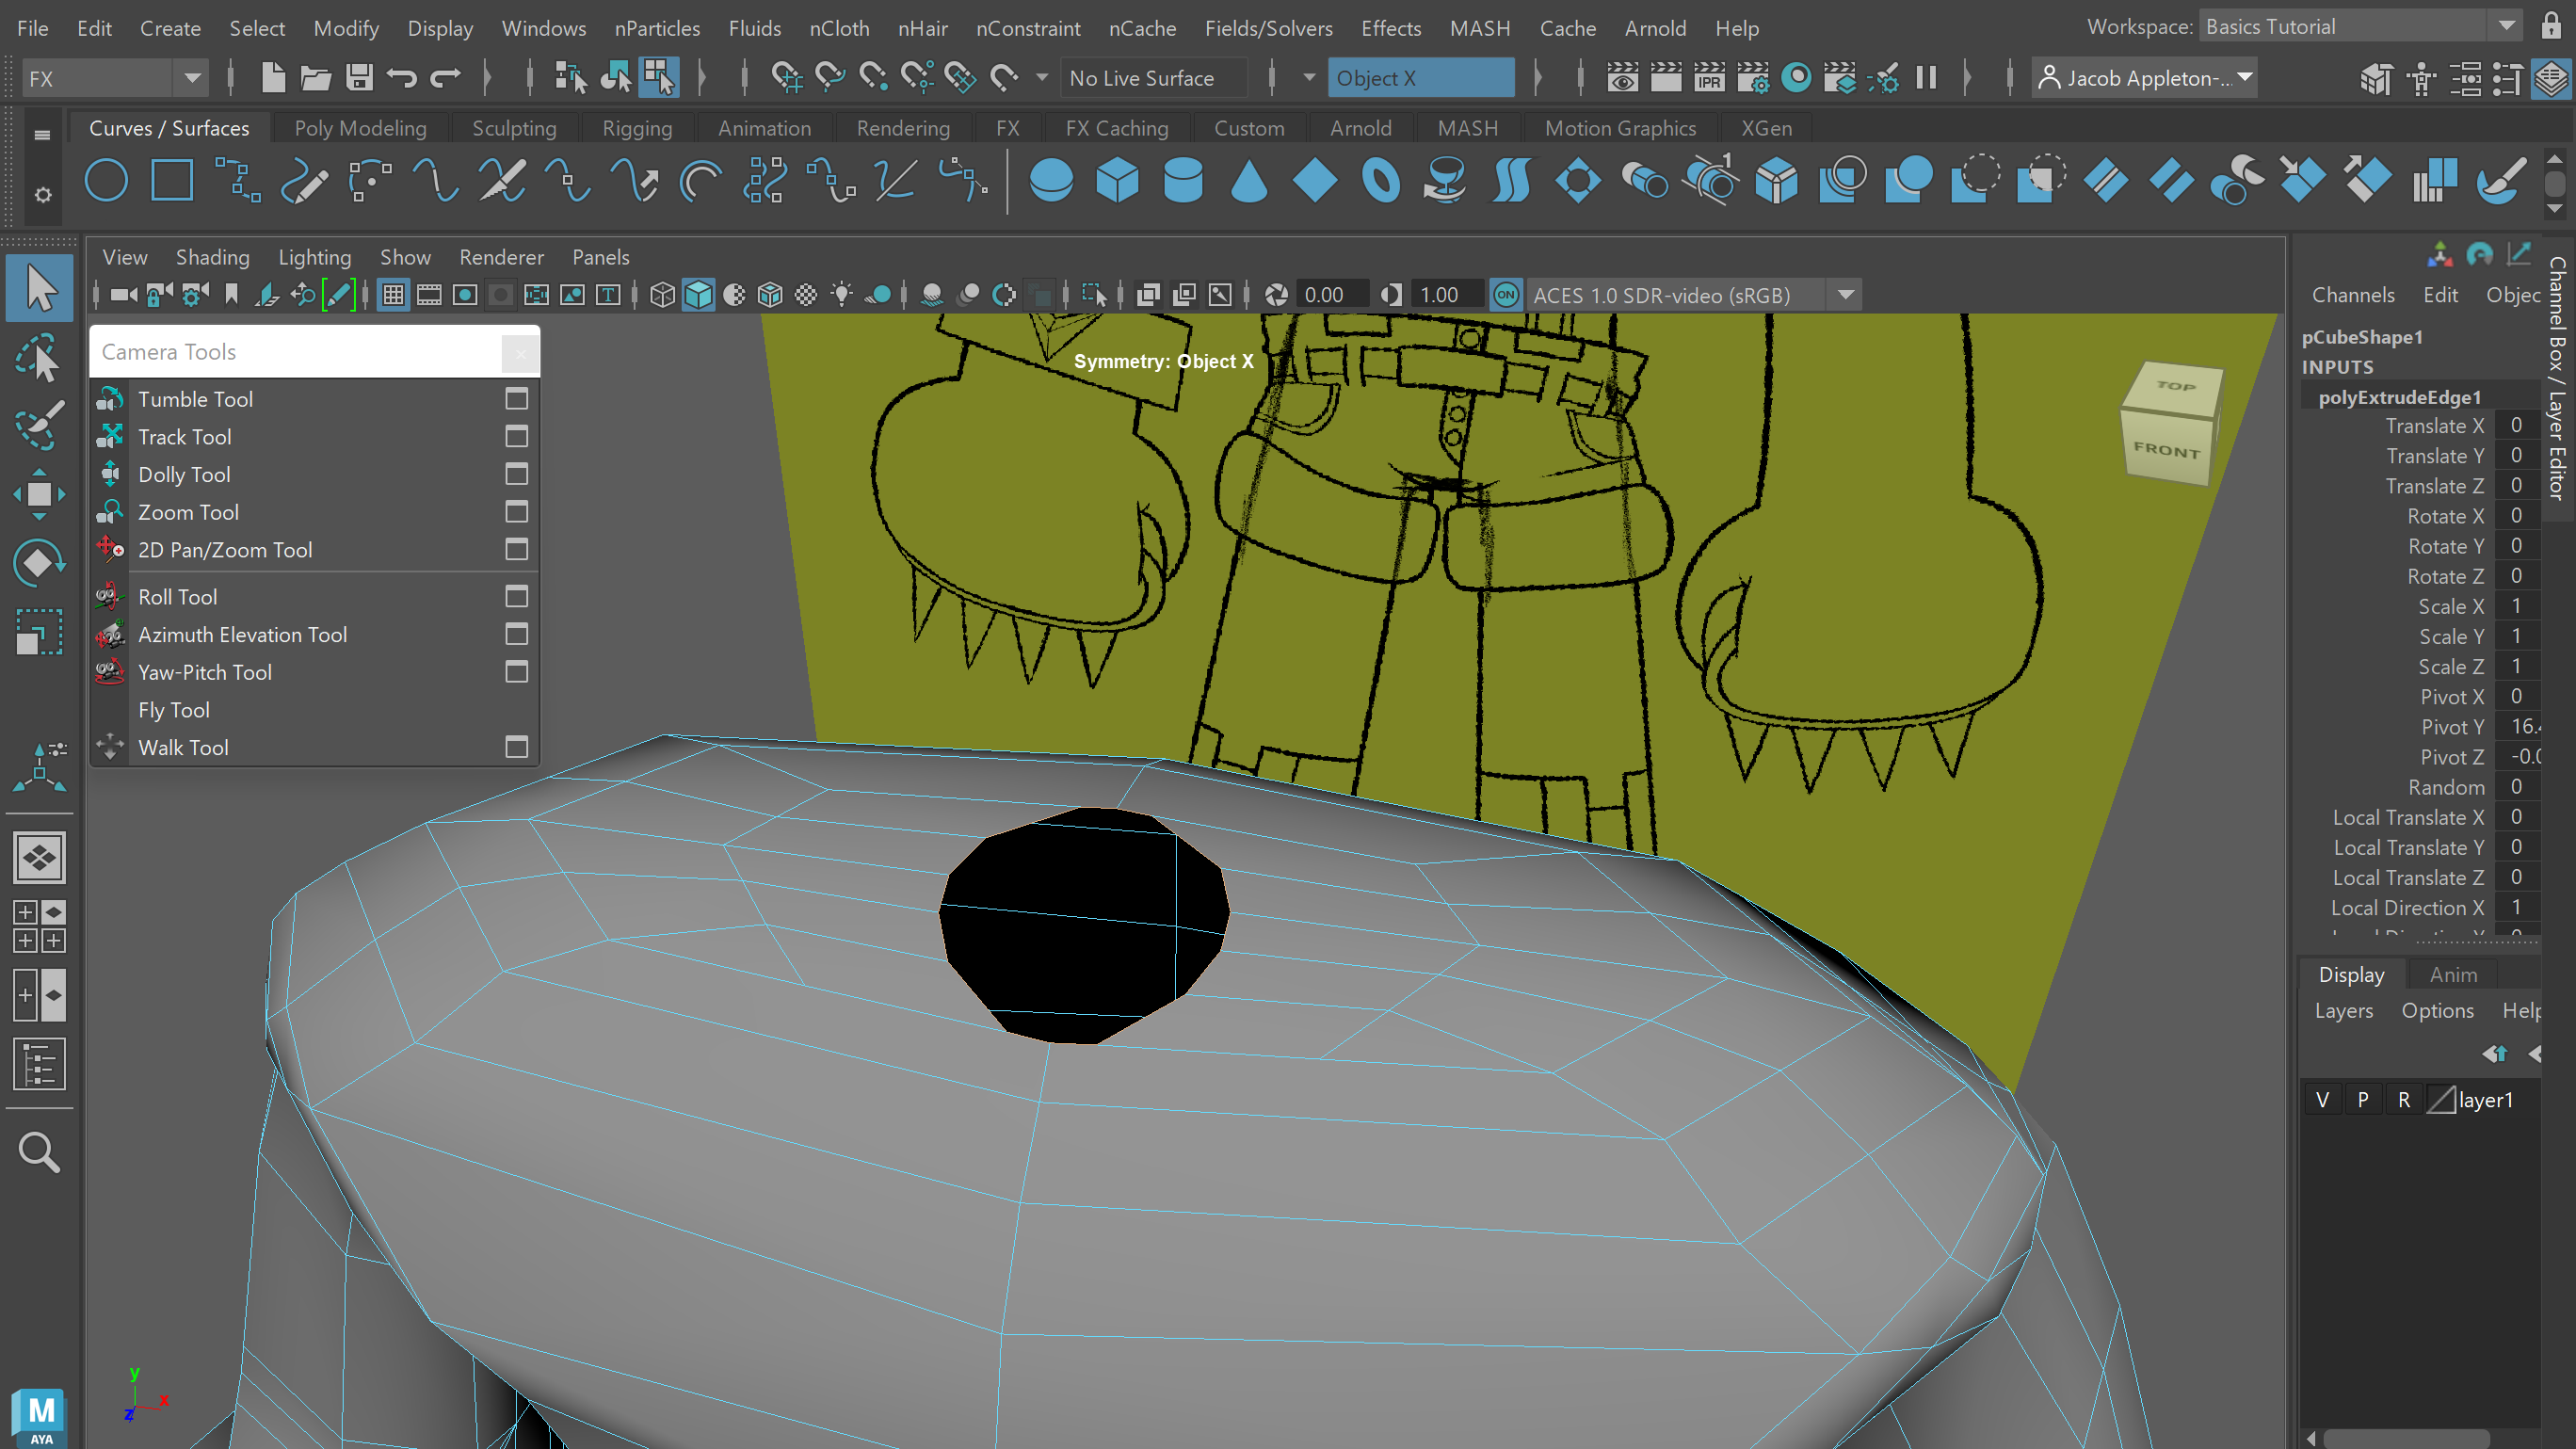
In order to model the character’s neck I had to remove a hole in the up-most part of the torso. To do this, I used the Multi-Cut tool to add edges and vertices that didn’t wrap around the entirety of the mesh, and simply deleted the new faces created. This then allowed me to extrude new faces from this newly created shape, and made sure there weren’t any unnecessary faces accidentally embedded inside the mesh.
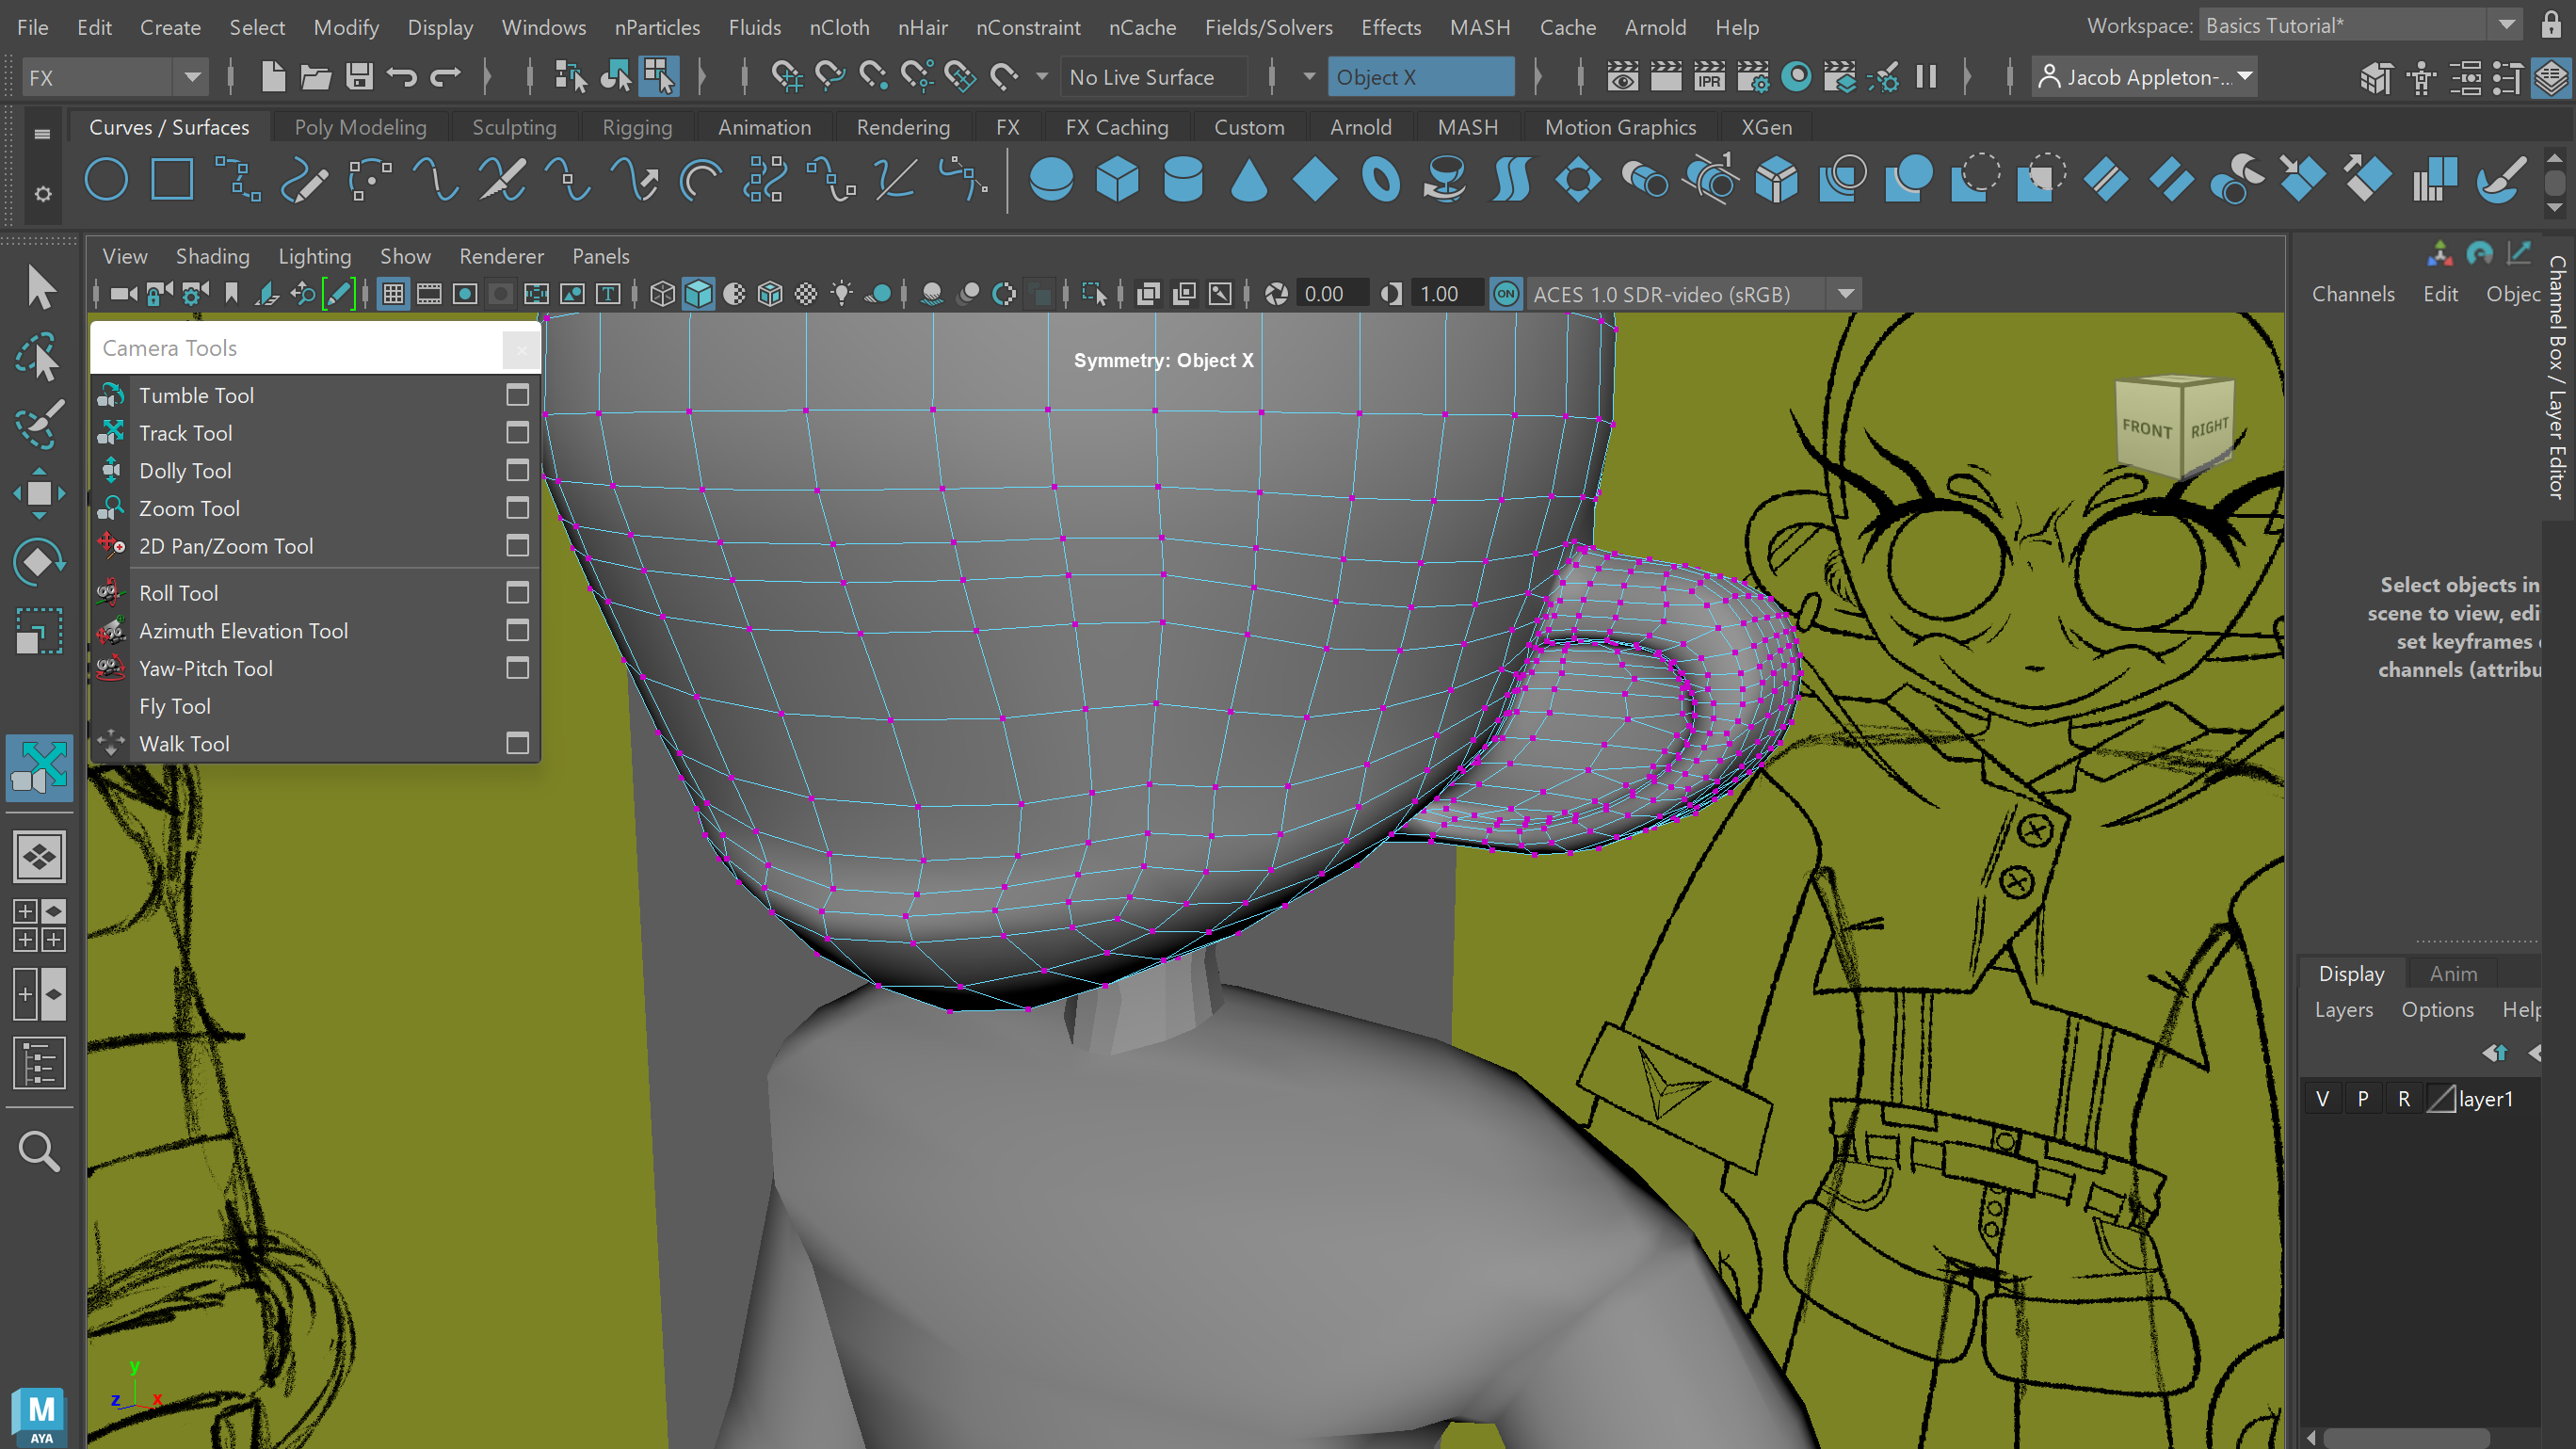
The final main part of the mesh I created was the head, which comprised of a cube smoothed into a quad sphere with added subdivisions, and ears formed from extruded faces. I also cut out a hole at the bottom of the head in a similar fashion to the top of the torso from earlier, which allowed me to connect the head to the neck, and then smoothed the neck faces.
I originally planned to model the clothes separately to be then combined with the main body, but I decided it would be easier and less time constraining to just create more vertices and manipulate the base model instead.
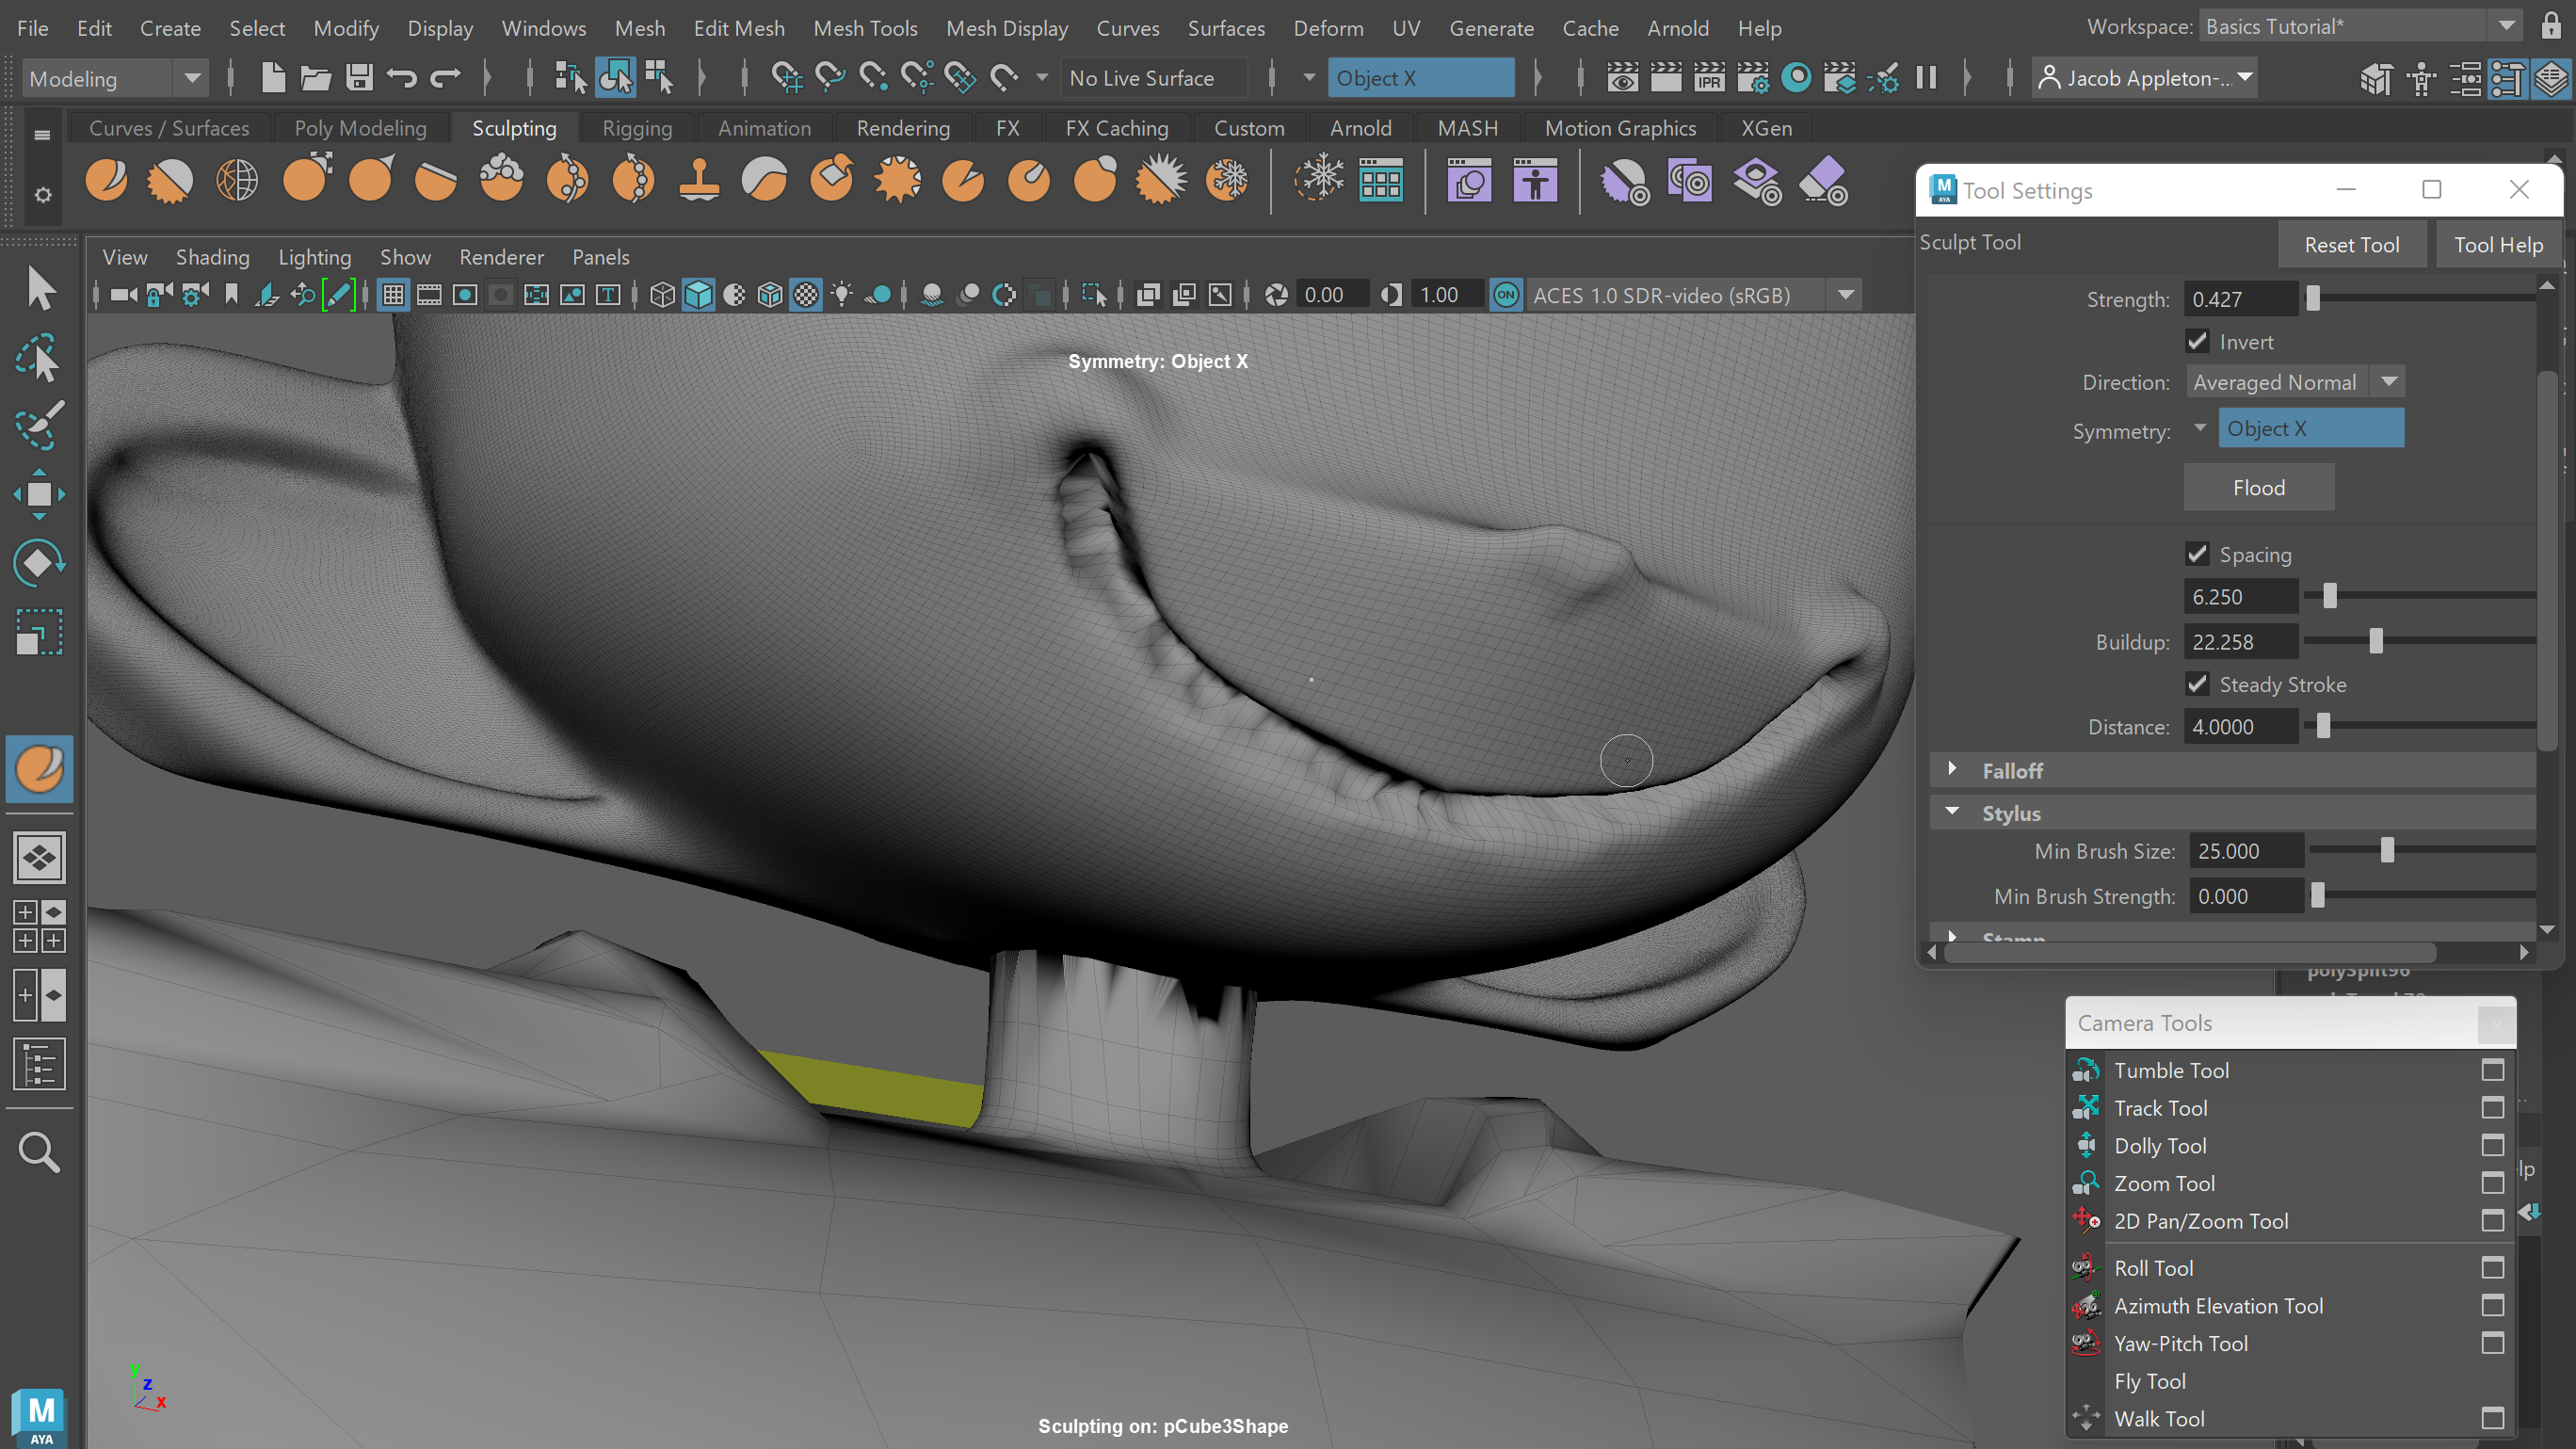
Maya’s built-in sculpting tools allowed me to start working away at designing the face of the character. I drastically smoothed out the head before doing this in order to get a much cleaner looking sculpt. I did contemplate exporting my model into ZBrush to do this, however at the time I presumed it would be a similar experience and stuck with Maya for the sake or practicality.
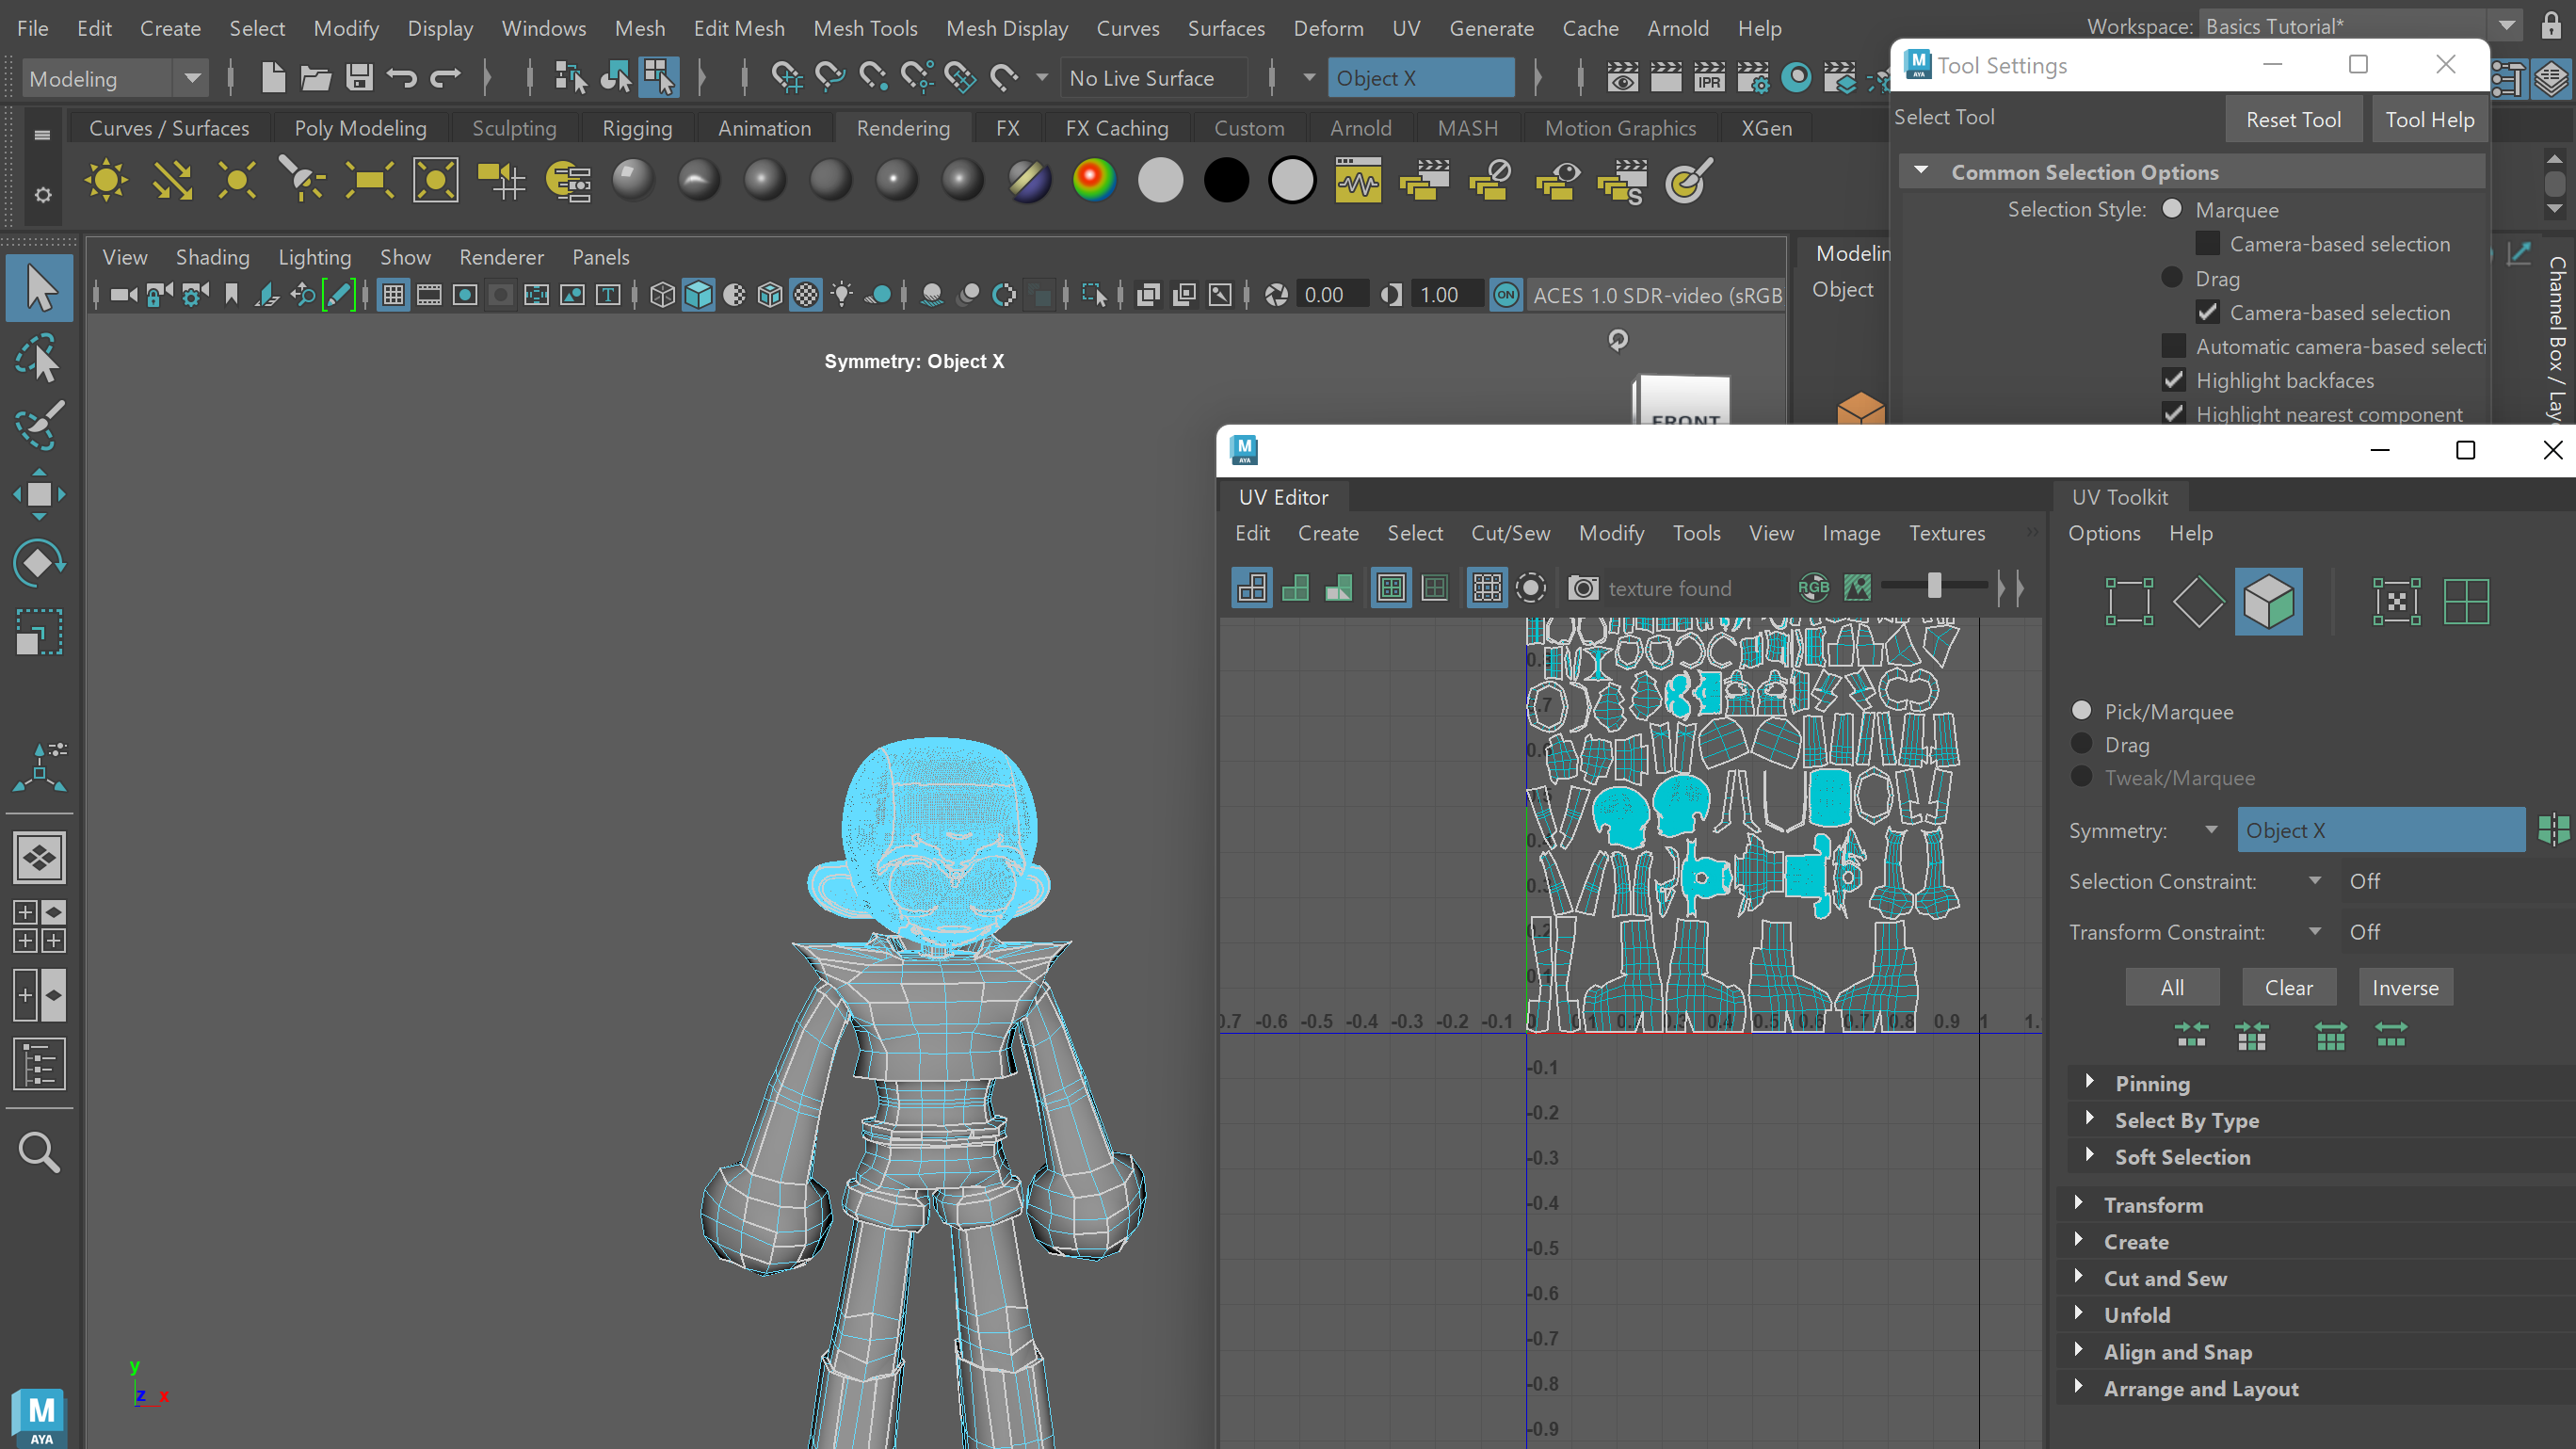
After the mesh was fully created, I UV unwrapped it in order to make it suitable to add colour to it later. I wanted to do this process completely by myself like I had with the mesh modelling, however after numerous attempts I was very confused by the process and found it quite difficult, so instead I opened up the UV Editor and used Maya’s Automatic unwrap function, which seemed to have worked quite well due to my model not being too complex.
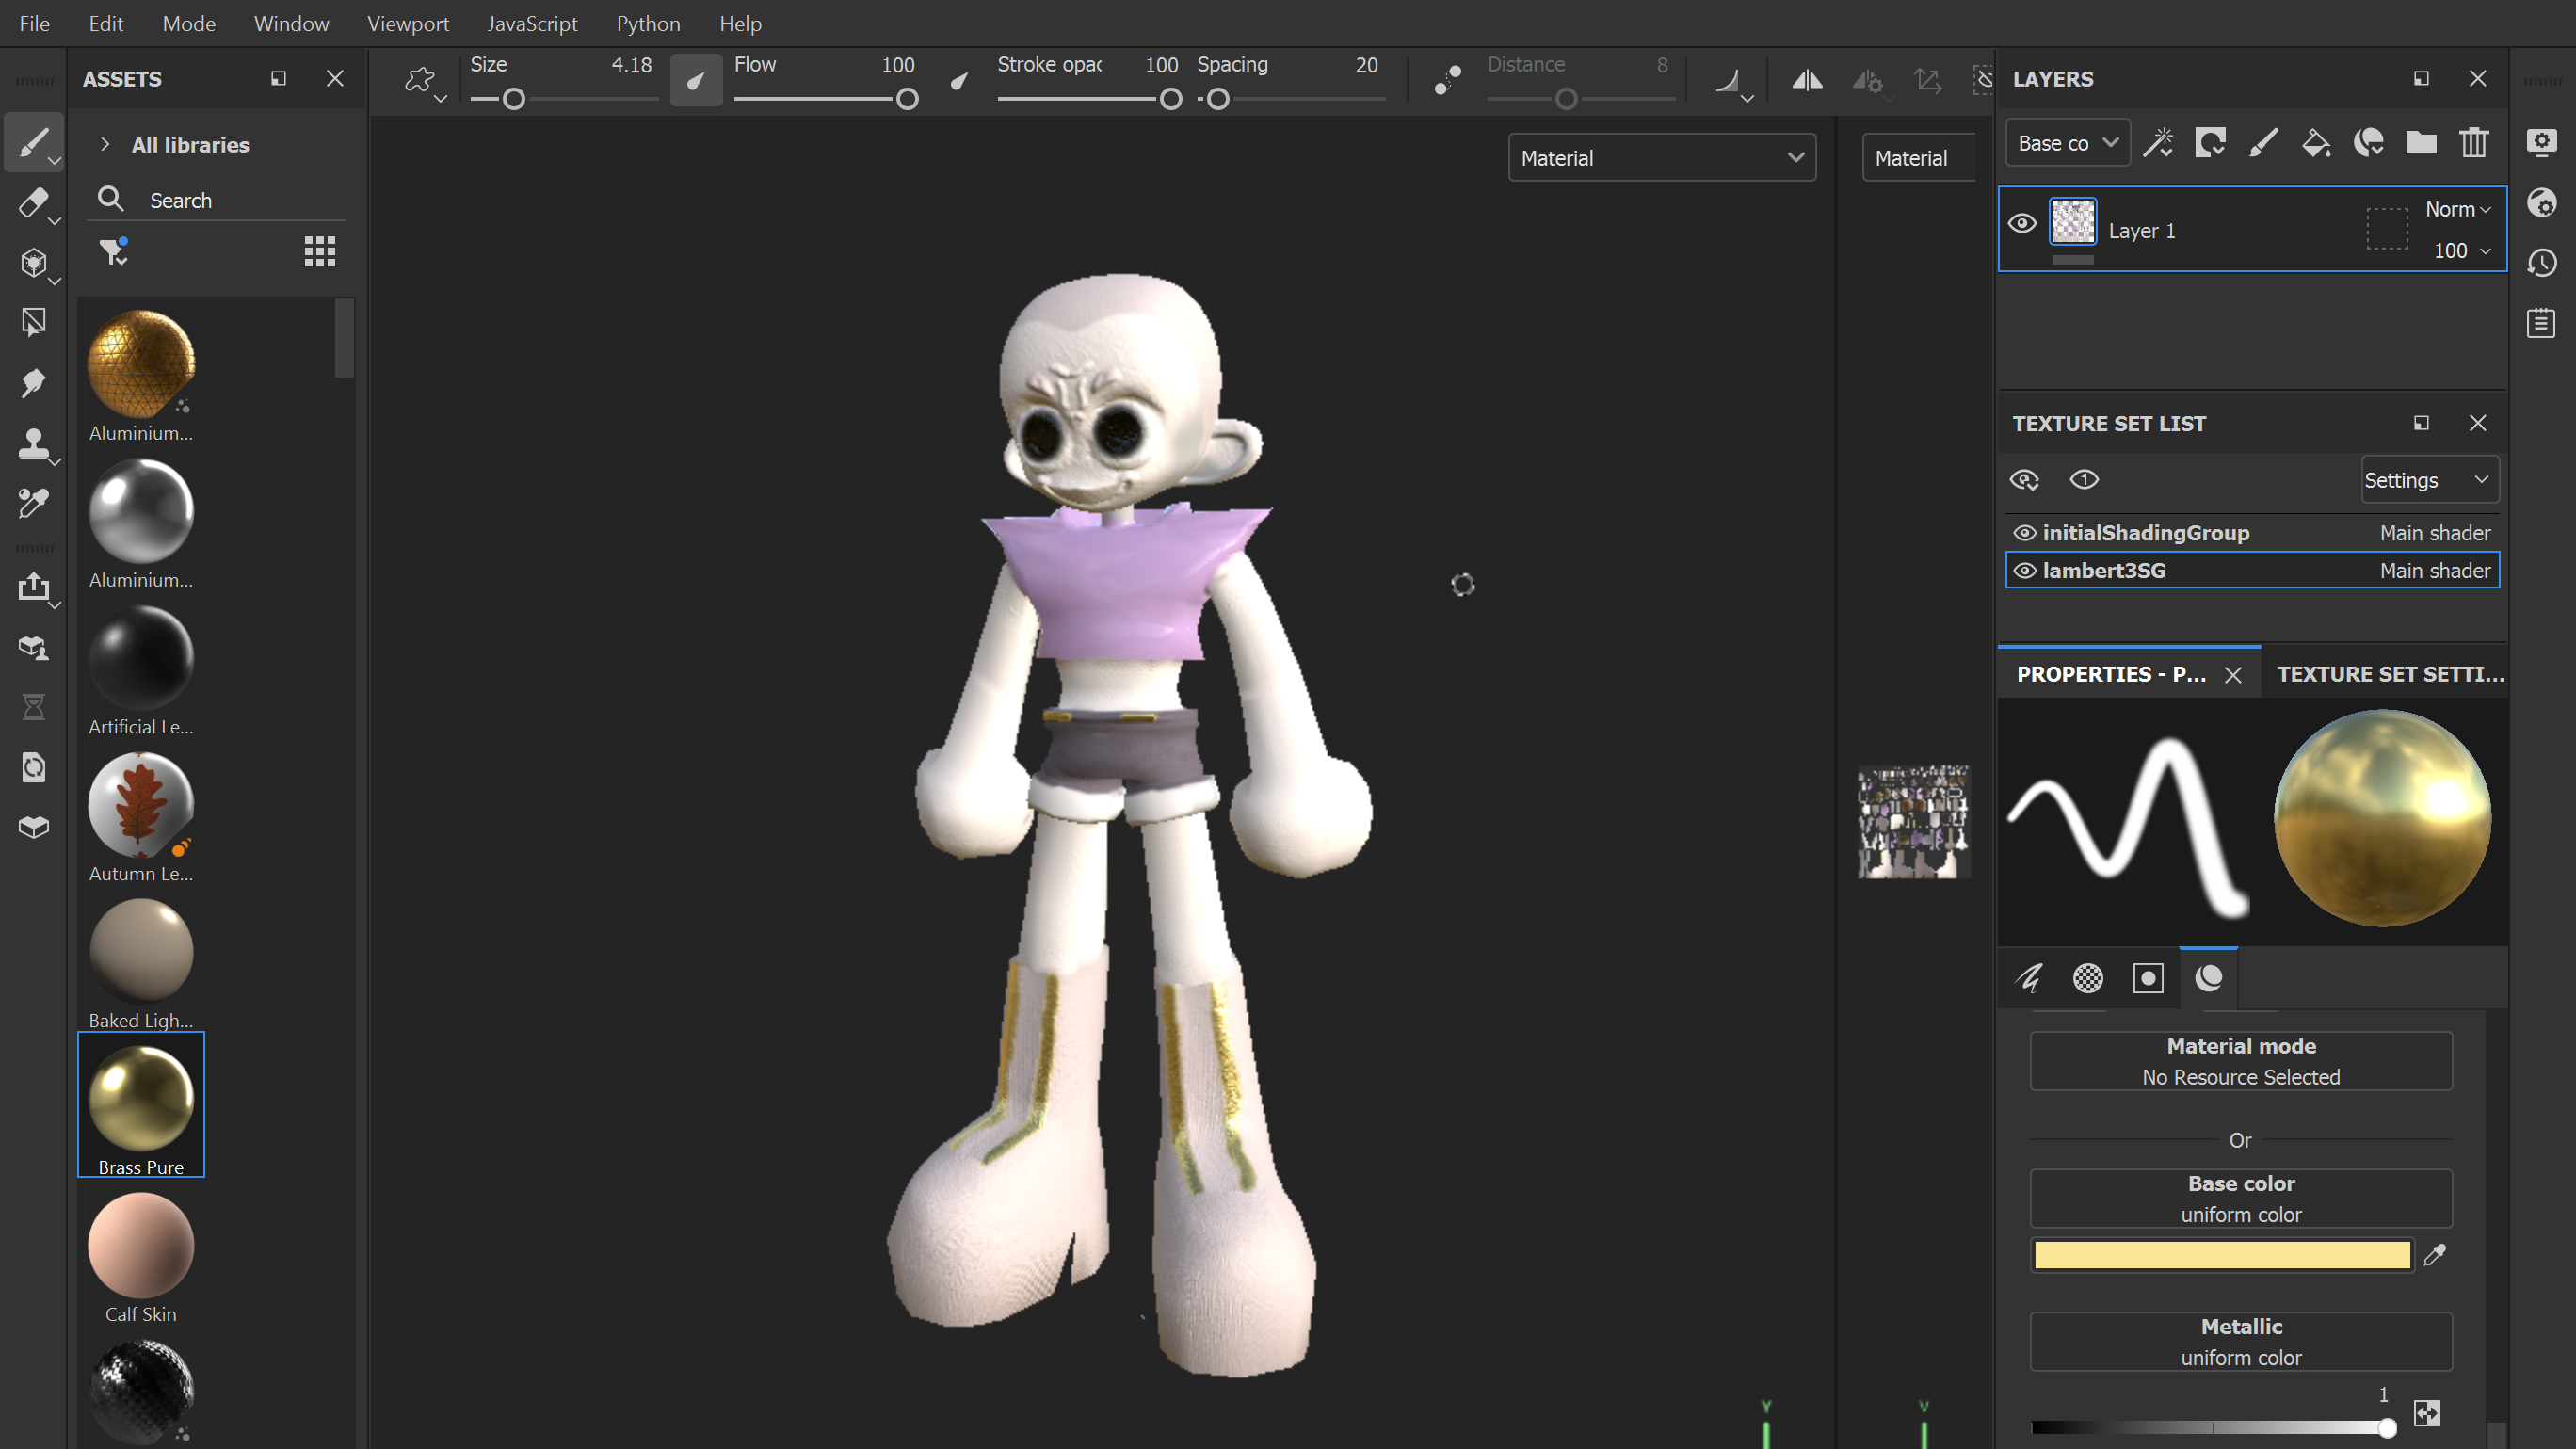

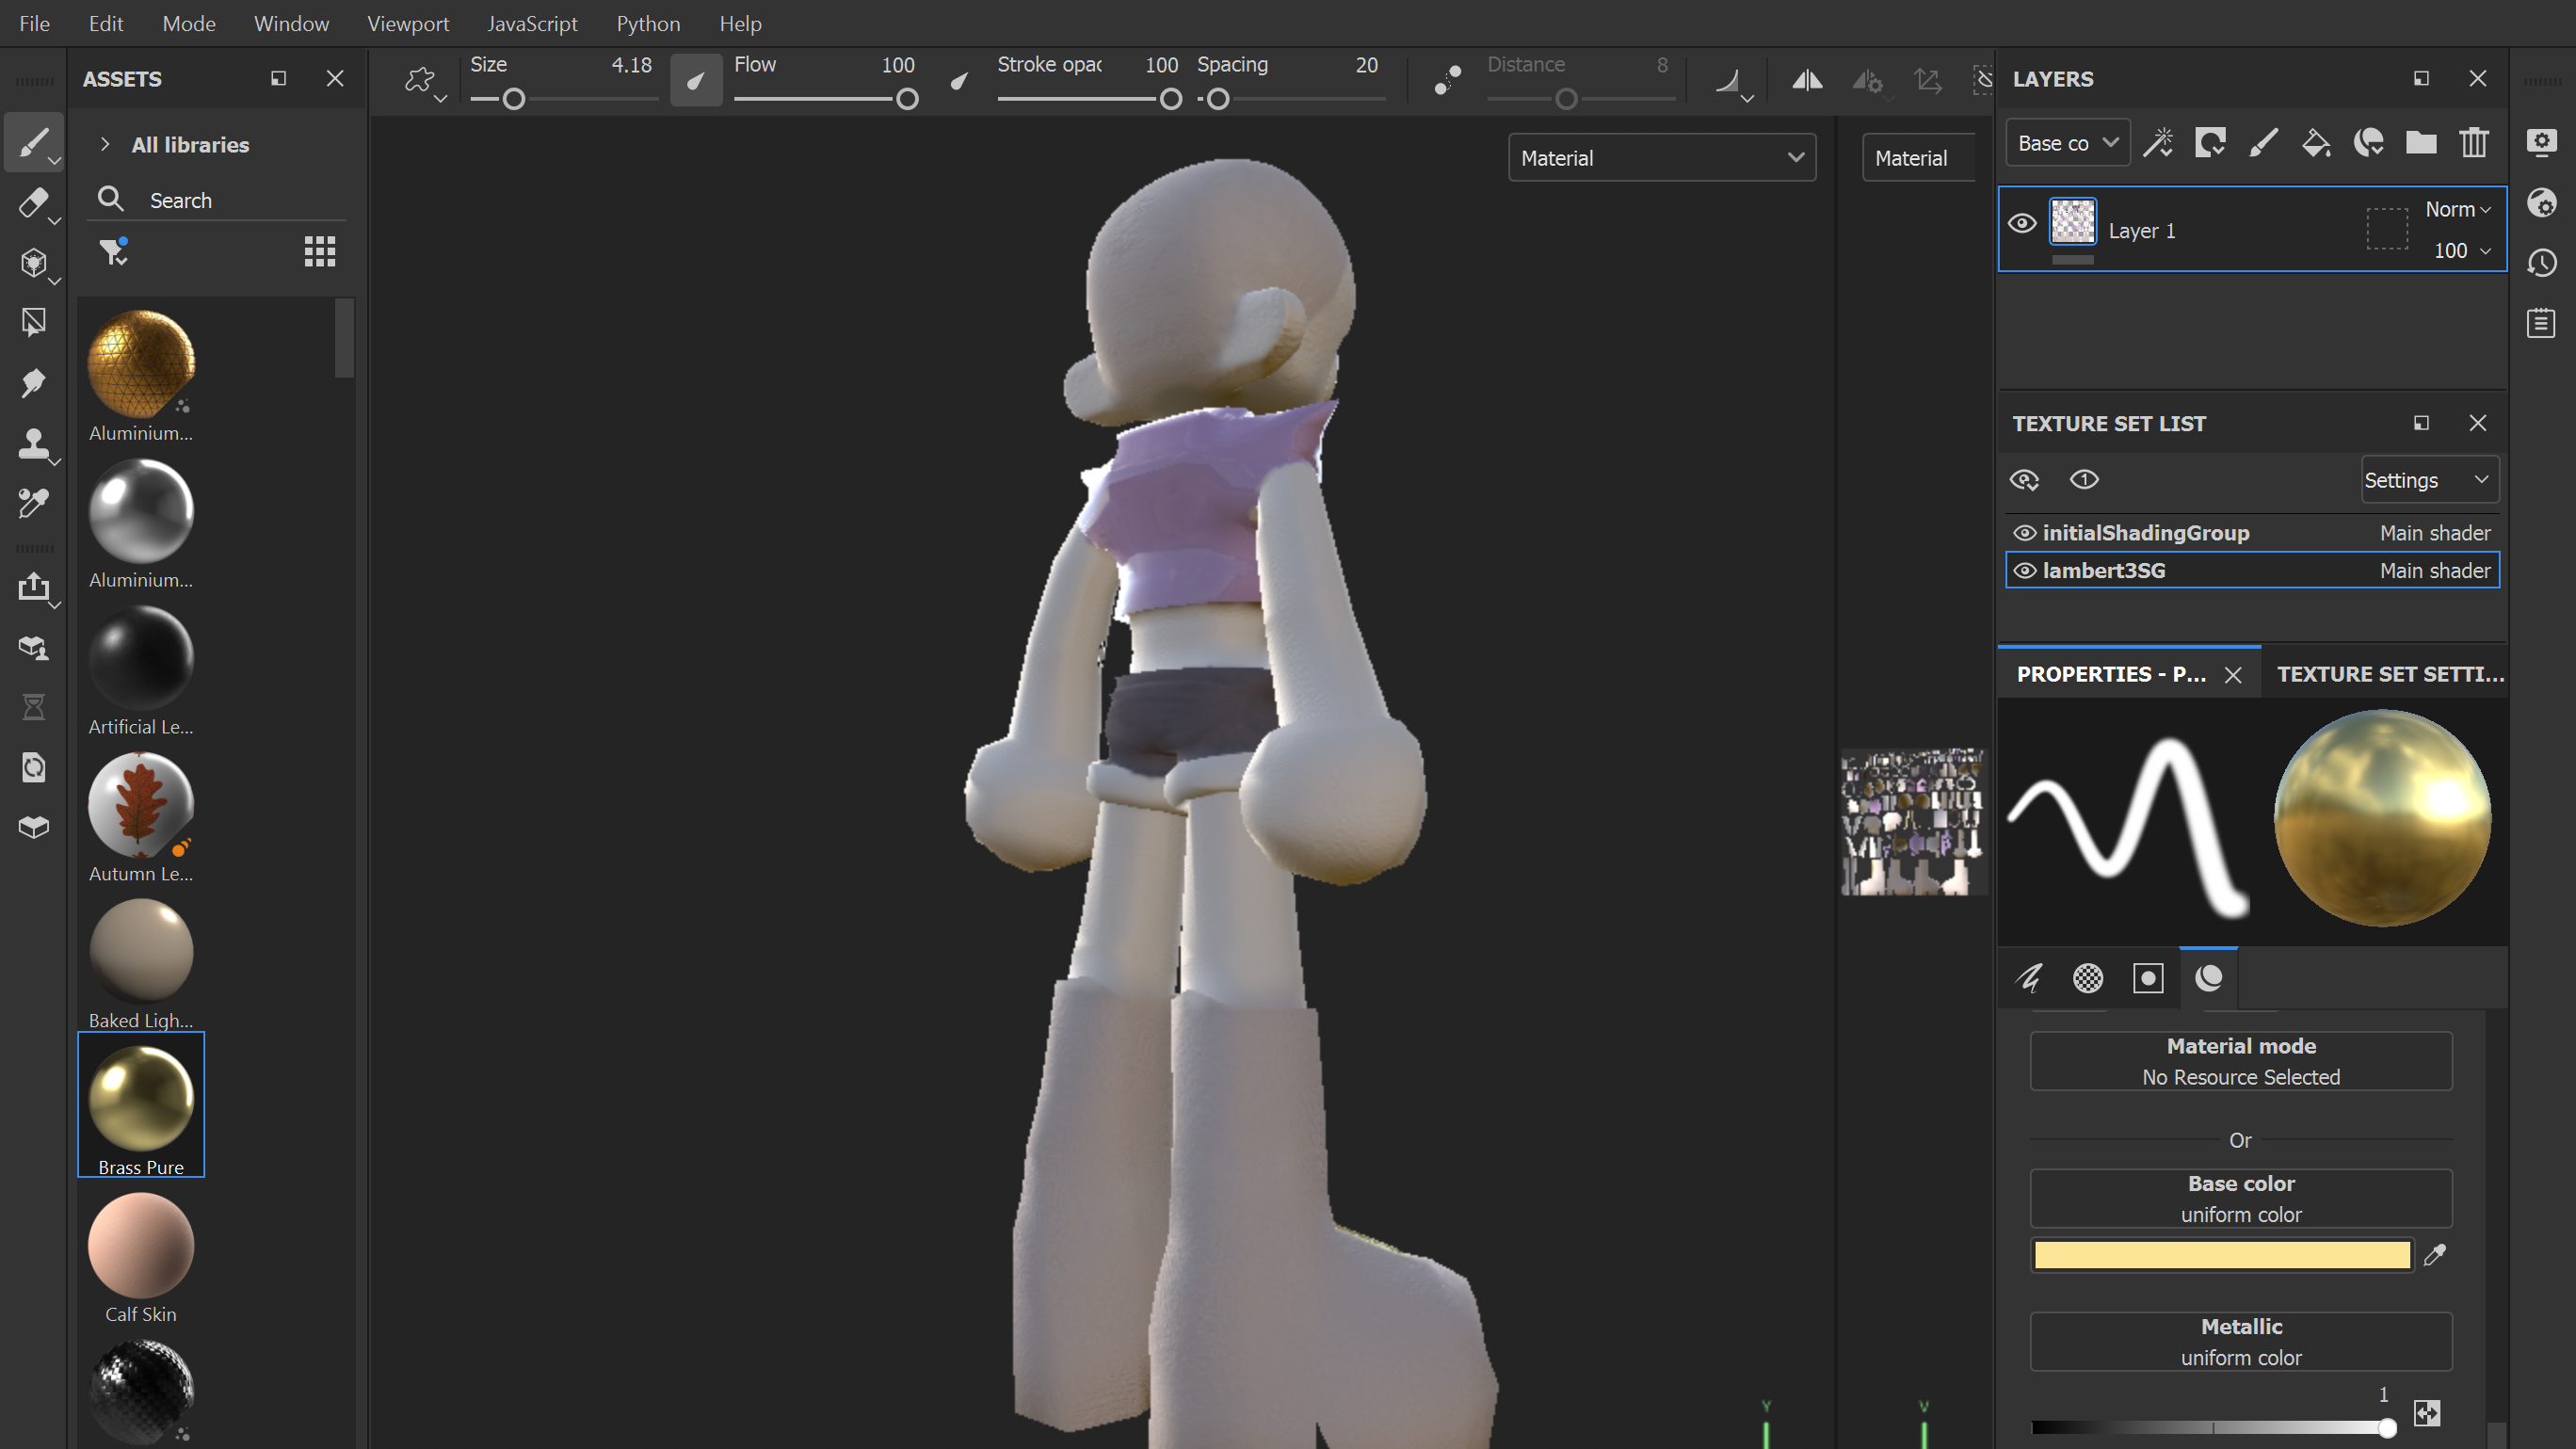

Finally, I exported my mesh as an .obj file and imported it into Substance Painter to add colour and texture to my character. I applied a glossy coat of purple to Val’s jacket to make it look like it’s made from a vinyl plastic material. Likewise, I used a metallic gold finish to the strips down Val’s boots, and used matte substances for everything else like the skin, hair and bottoms.
Admittedly I have struggled quite a bit with this module. I have never had ease with 3D modelling, and there are some aspects of my model that I would have definitely changed if I had more experience, with one aspect being the amount of detail – I envisioned my model to have much more detail in the clothing and facial structure. Unfortunately I couldn’t execute this, which has resulted in my model missing some design aspects found in my original illustrations and sketches, like their wristband. On the other hand, I have definitely gained a lot of experience through this process and am now more comfortable and familiar with the modelling process than I was before, and I believe that with a little more practice I could produce models to a higher and more professional degree.
Below are videos of turntables of my model in both standard and wireframe forms. Box access to these same videos as well as my original Maya and Substance Painter files can be accessed using the link below.
https://universityofhull.box.com/s/httrocwphvbo9md3ltqx56y77xxeda5m
![3D Character Design [04]: Dissection of fictional narrative, personality and visual composition of my final character design – ‘Val’](https://appleton-burdall.2018.hulldesign.co.uk/wp-content/uploads/2021/04/3d-character-concept-image-banner-2-300x138.png)