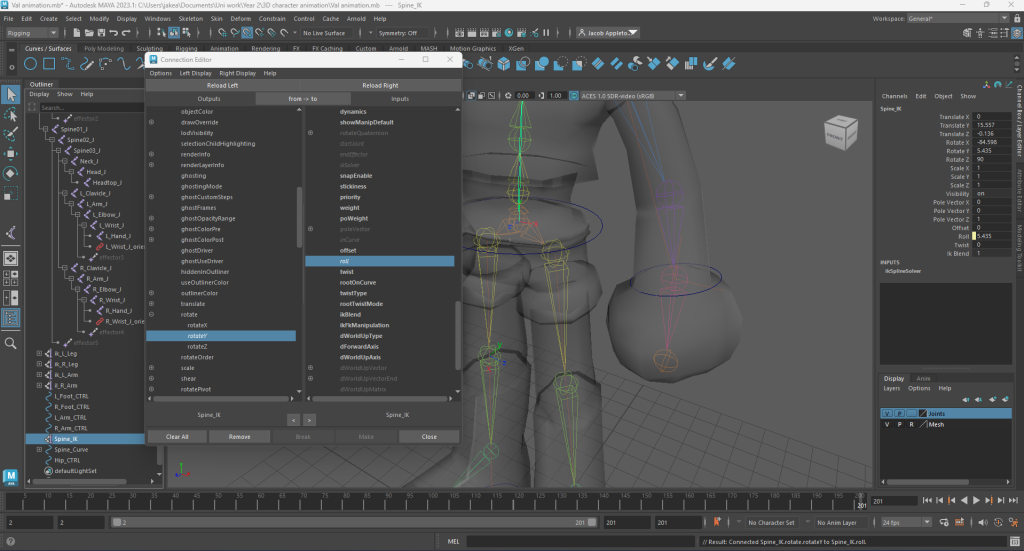
Using my sketches as a reference, I began rigging my character using Autodesk Maya by utilising the ‘Rigging’ setting’s exclusive menu and toolset. Prior to researching the rigging process and trying out Mixamo, I did not understand what rigging was or why it is important, as I come from a predominantly 2D illustration-based background, artistically speaking. Then I skinned my character and repeatedly animated them. Going into this was admittedly a challenge, especially since I also already find working with 3D projects very difficult and confusing (mainly due to the technical and software complexity side of things), but even though it was extremely difficult and stressful for me I gave it my best shot regardless, as I was enthusiastic about making my character come to life. Please understand this when viewing the following work.
Rigging:
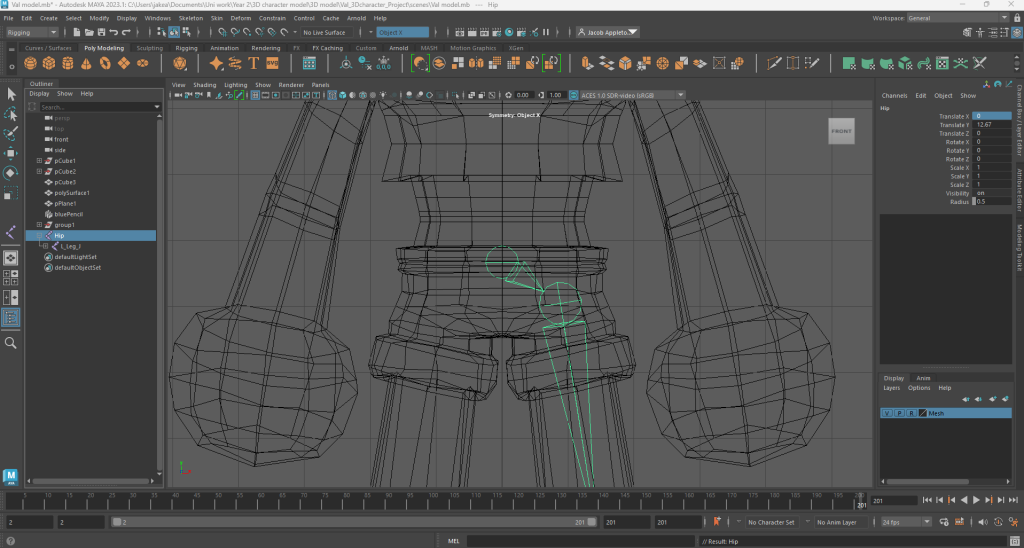
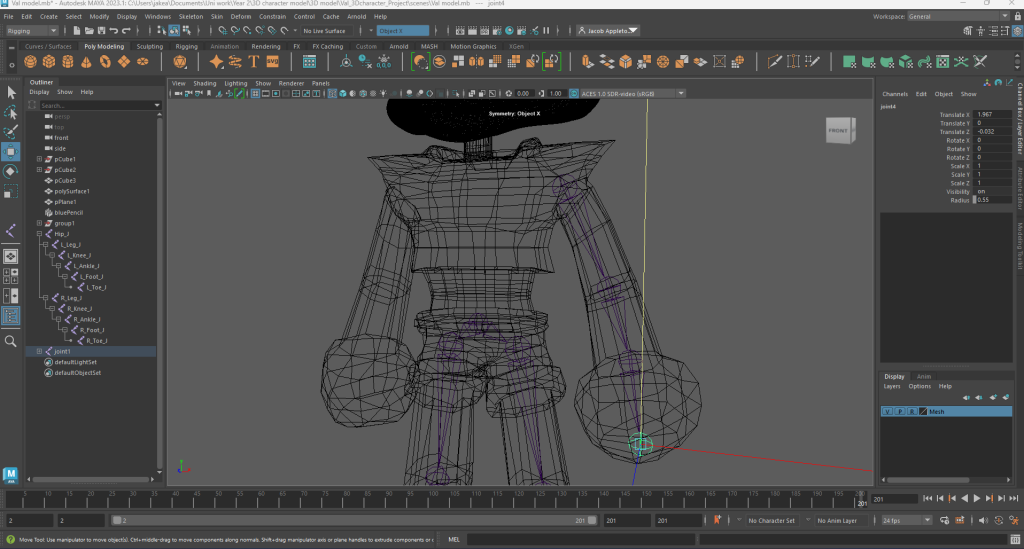
I began the rigging process by adding in the different joints to my character model by using the tools in the ‘Skeleton’ tab of Maya’s ‘Rigging’ workspace. One by one, I added each joint and linked them together accordingly to create a hierarchy and used a naming convention to name each joint, which can be seen in the ‘Outliner’ tab in the following screenshots. I made it so that the hip joint sits at the top of the hierarchy to allow for easy joint manipulation later on. For joints created for limbs that I needed mirroring to each opposite limb, I used the ‘Mirror Joints’ window, which allowed me to easily mirror what I had created along the X axis by swapping the term ‘L_’ to ‘R_’ in the joint hierarchy’s naming convention (e.g. ‘L_leg_J’ was copied, mirrored and changed to ‘R_leg_J’). Doing this is recommended, for it saves a fair amount of time as the joints for the other limbs are not needed to be created from scratch, as well as the fact that both sets of limbs will be perfectly aligned with each other and to the mesh.

Orienting joints:
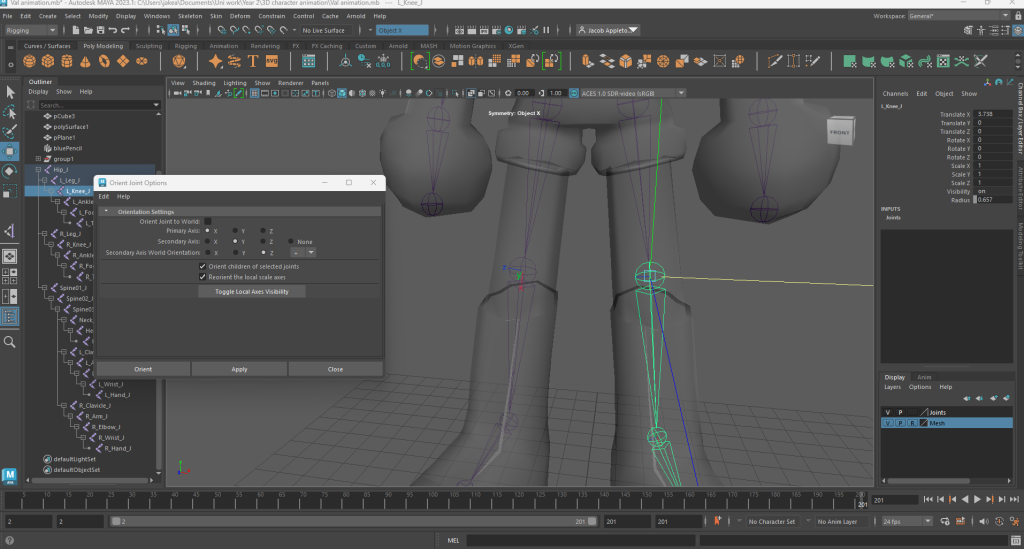
Next I configured the orientations of every joint. Orienting the joints ensures that each joint is aligned correctly, and is necessary for making sure joint/model manipulation works as intended. I used the ‘Orient Joint Options’ window to set the directions for each joints’ x, y and z axis. Below you can see the process I took to orient each joint.

Skinning:
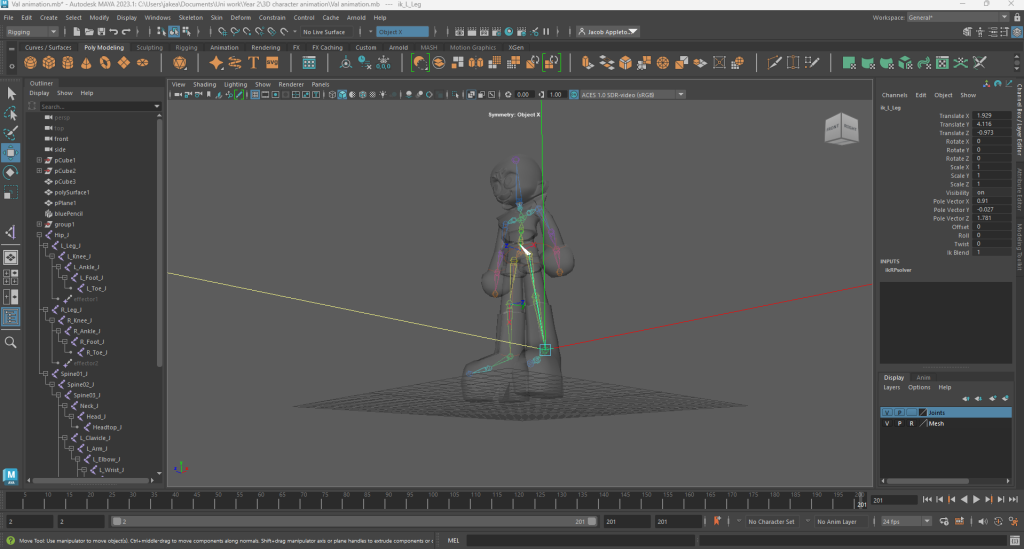
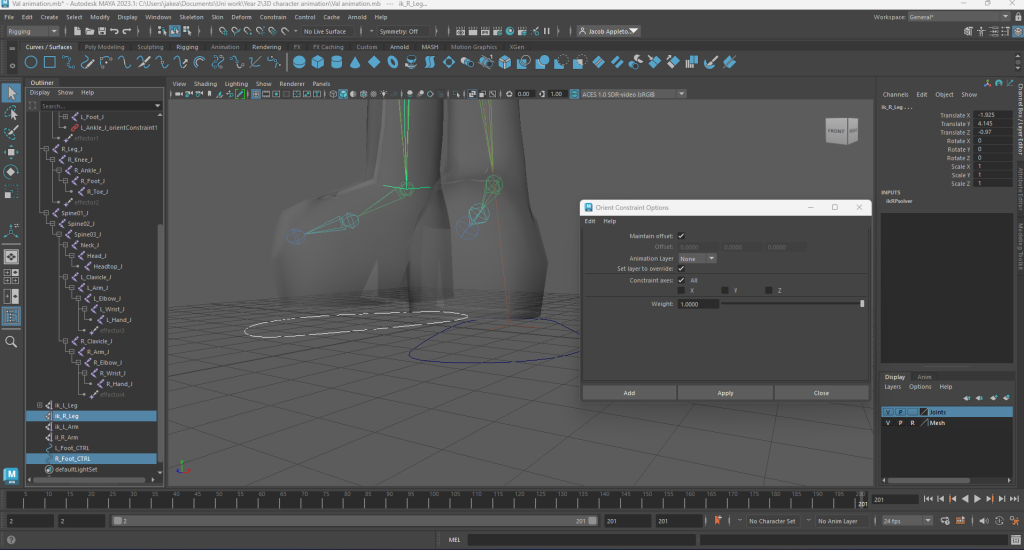
‘Skinning’ is the process of binding the mesh and the joints together so they can work as one connected entity. It is the start of the process that leads to being able to use the joints to control the positioning of each segment of the mesh. However, prior to this I had to set up numerous IK handles for each segment/limb. IK handles are almost like a ‘fuse’ containing a collection of joints tethered to it, allowing a chain of joints to be manipulated all at once within one action. For instance, I can use the transform tools on the IK handle for the collection of joints for one of the legs to make the leg joints move and bend together and connected like real human leg bones would. After all the IK handles were set up, I quickly skinned my mesh using the ‘Bind Skin Options’ window, and the joints turned to a rainbow colouration to reflect that this has been achieved.
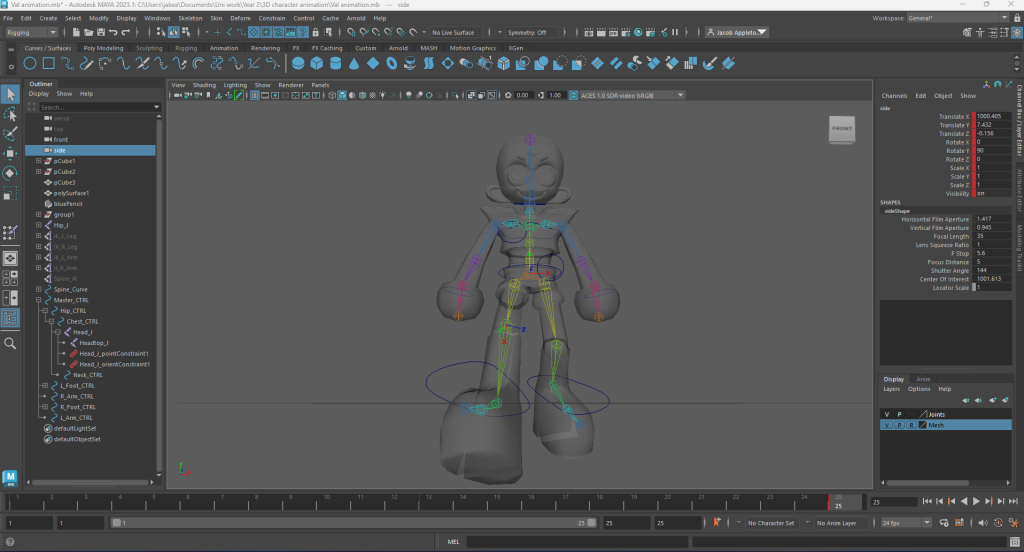
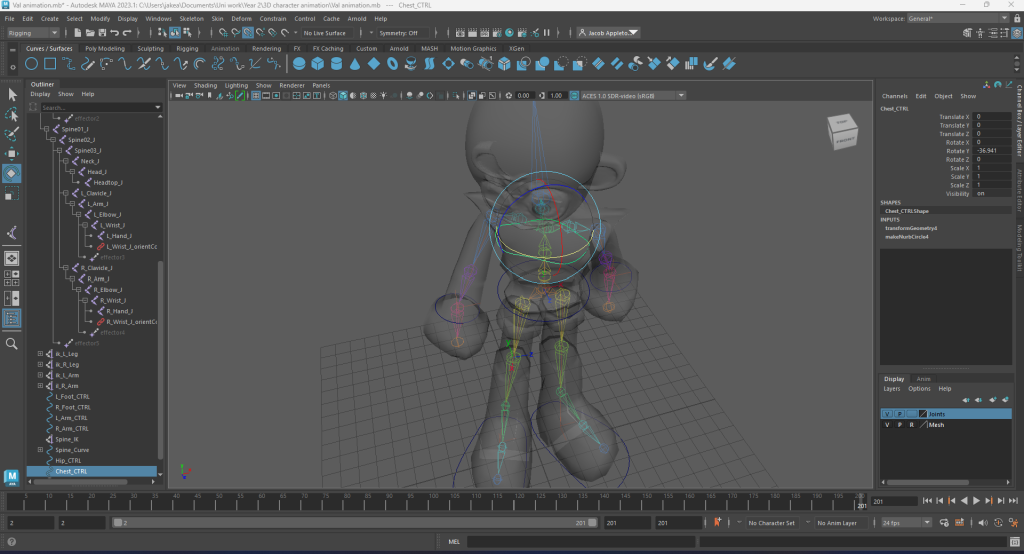
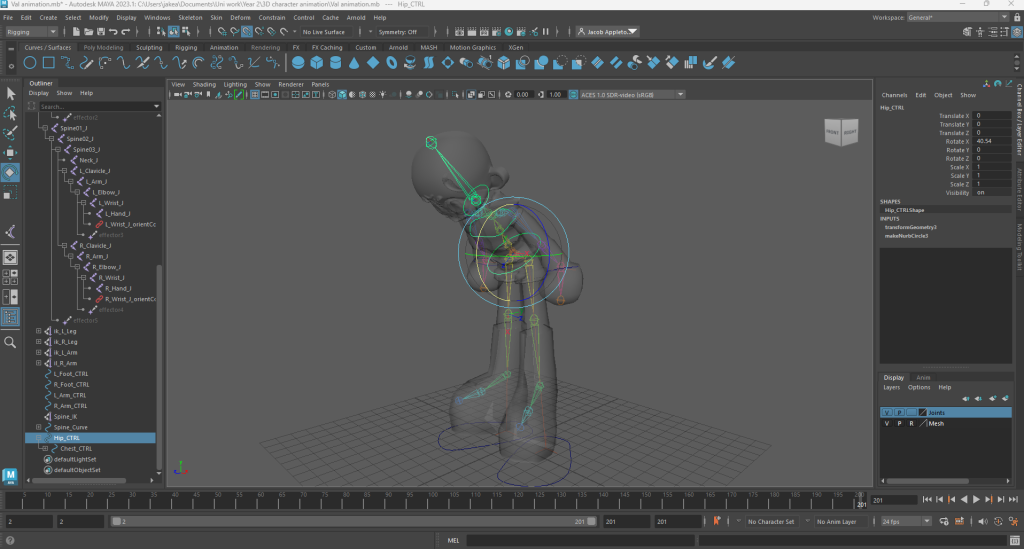
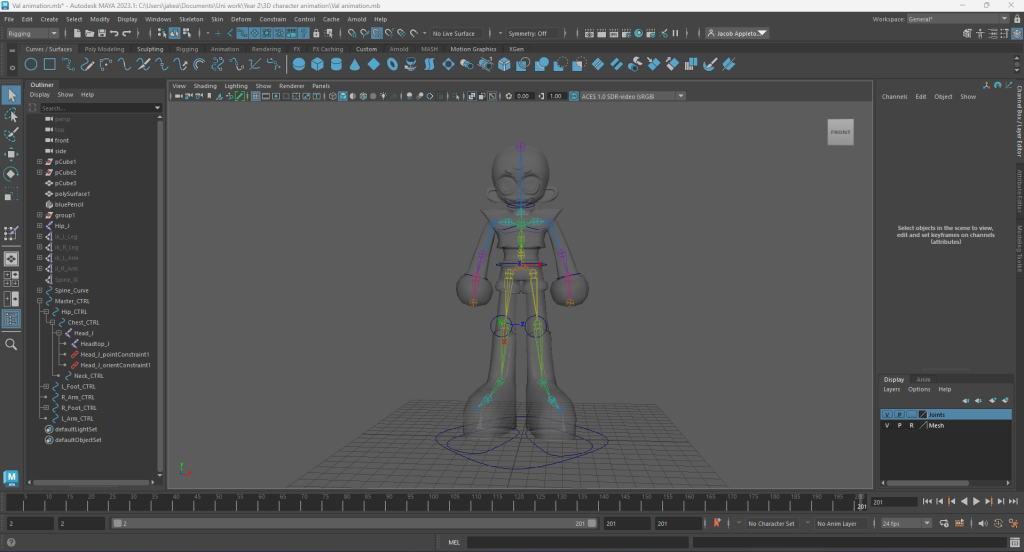
Control Handles:
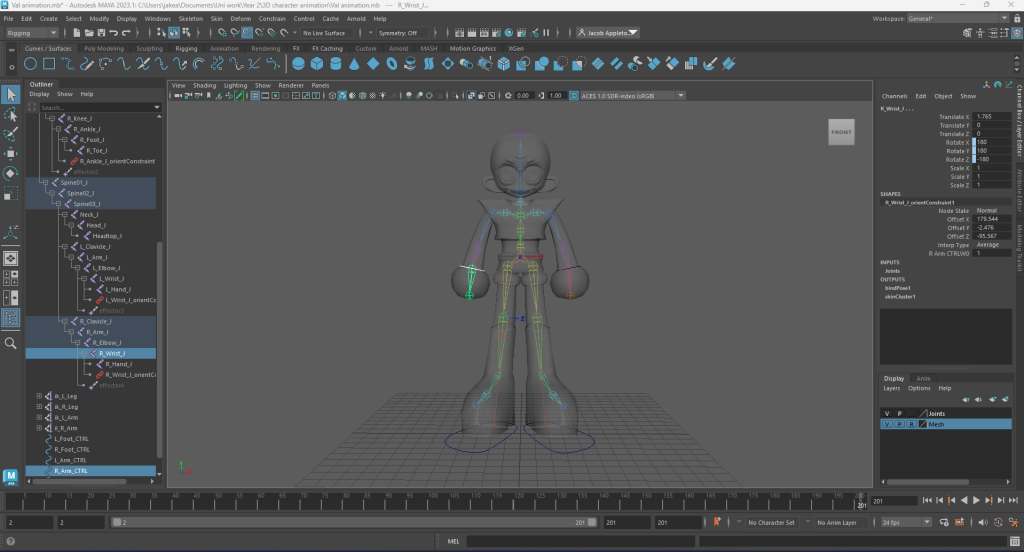
Control handles are made with ‘curves’ and are created to aid with the manipulation of the different segments of the mesh. Using the transform tools on a control handle assigned to each joint intersection allows you to easily pose and position every aspect of the model. I added control handles to every part of the model that needed to be moved and rotated, like the neck, limbs and hands.
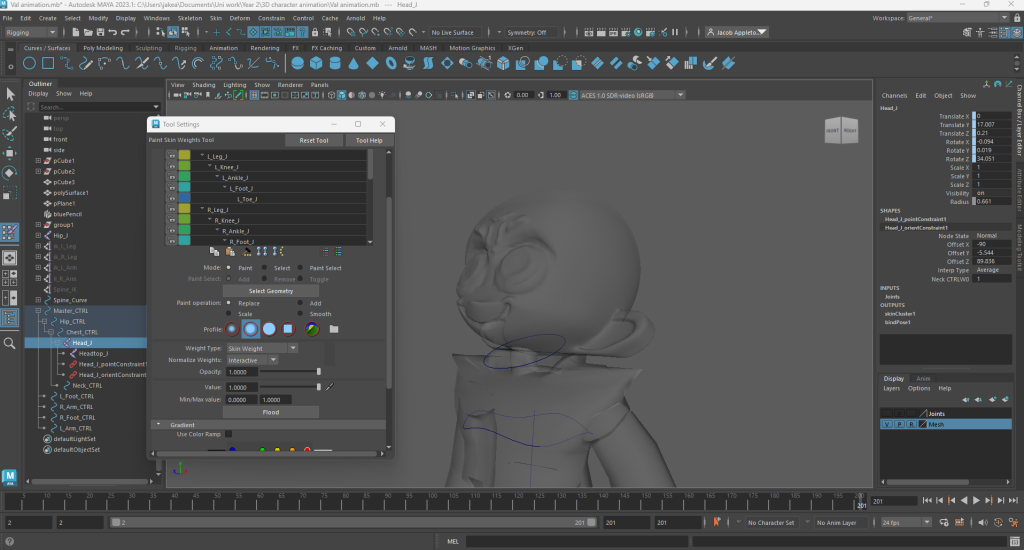
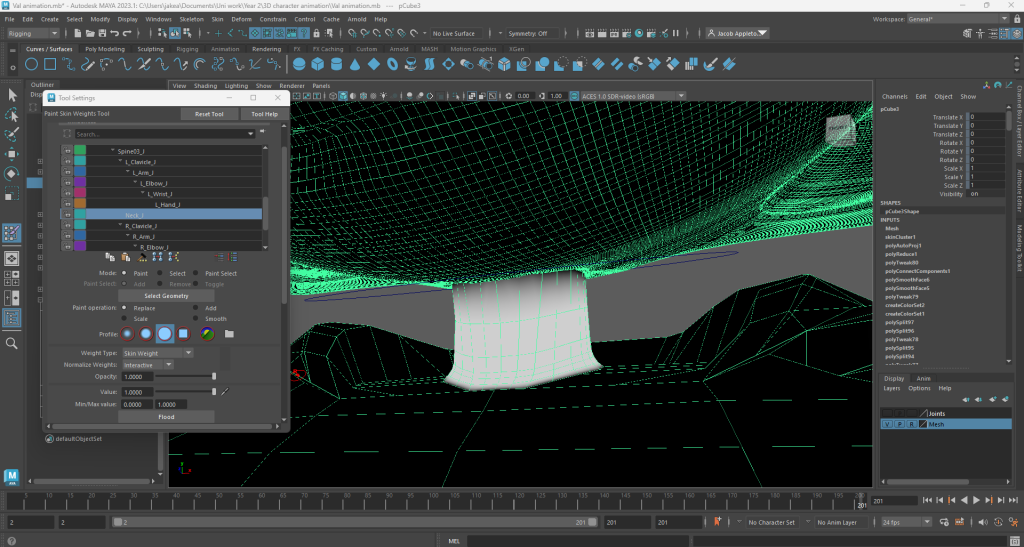
Weight Painting:
Next up was the process of weight painting. Using the ‘Paint Skin Weights’ tool to meticulously weight paint the surface of each segment of my character mesh, to ensure that the correct parts of the mesh would shift and bend alongside the joints. I made sure that I removed all value from certain points to make for clean movement, for instance where the arm connects to the jacket sleeve I sharply cut all the weight paint to make the jacket seem like its stiffer and more rigid. This goes for the leg to shorts intersections too.

Animation:
All of these past challenges have been quite difficult and mentally straining due to my considerable lack of 3D modelling skills, heightened technical confusion and personal mental health issues, but the animation process itself has been the most stress-inducing by far. I’ve really struggled with this module, and I can’t say I’m proud of the outcome either, but I still gave it a go at least.
My first animation is a simple walk cycle. I chose this as I knew it would be a better introduction to learning how to animate using the Maya software. An issue I ran into was that when I originally made my character model the legs were not facing straight forwards, which resulted in the legs being harder to animate than the rest of the model. Additionally, I accidentally created the model risen above the perspective grid/baseline, which made keeping the character’s walking connected to the ground very difficult. Finally, there must have been something I had done wrong when either modelling the arms or rigging them, as when they are moved around they sometimes deform in unintended ways, but I did not know what the issue was or how to rectify it so unfortunately I had to leave it as is.